For the first new video I've finally worked some more on my R2-D2 vs. Johnny V mash up robot. You know, the one where I was too lazy to work on both, so I've joined them together :D Anyway, the matrix voice kit was a bit frustrating and I was all over the place with what I wanted to do with this robot, it probably shows.
The second video is an LED matrix that takes midi inputs or listens with a microphone. Inspired by close encounters of the third kind, of course! This video was so much more fun to make then the matrix voice robot. Finally a video where I was certain enough, that a bit of "regrettable acting" wouldn't hurt this time.
Third and most recent video, is a 3D printed Iron Man helmet with a head up display! I'm using two RGB 160x80 OLED displays and some cardboard lenses to show data I gathered from a BMP280 humidity sensor and an MPU9250 magnetometer.
LED handheld | Considering changes for a possible PCBA
2019-05-30 16:43:25
Just in case I need to scale this up and ever get to the point where I consider a PCBA service:
here are the LEDs I would probably want to use instead: LG T770, LY T77K, LP T770, LW T773, LG T770, LO T77K, LY T77K - well some of them.
this might be continued.
MakerFaire Berlin 2019
2019-05-21 15:44:44
For this year's MakerFaire in Berlin @Alex,
@bitluni,
@Clemens Mayer and I formed a collective called "⅘ Sterne". Everything that happened, everyone I've met and everything I have seen, wouldn't fit in a single tweet, so I thought I would write a
bit.
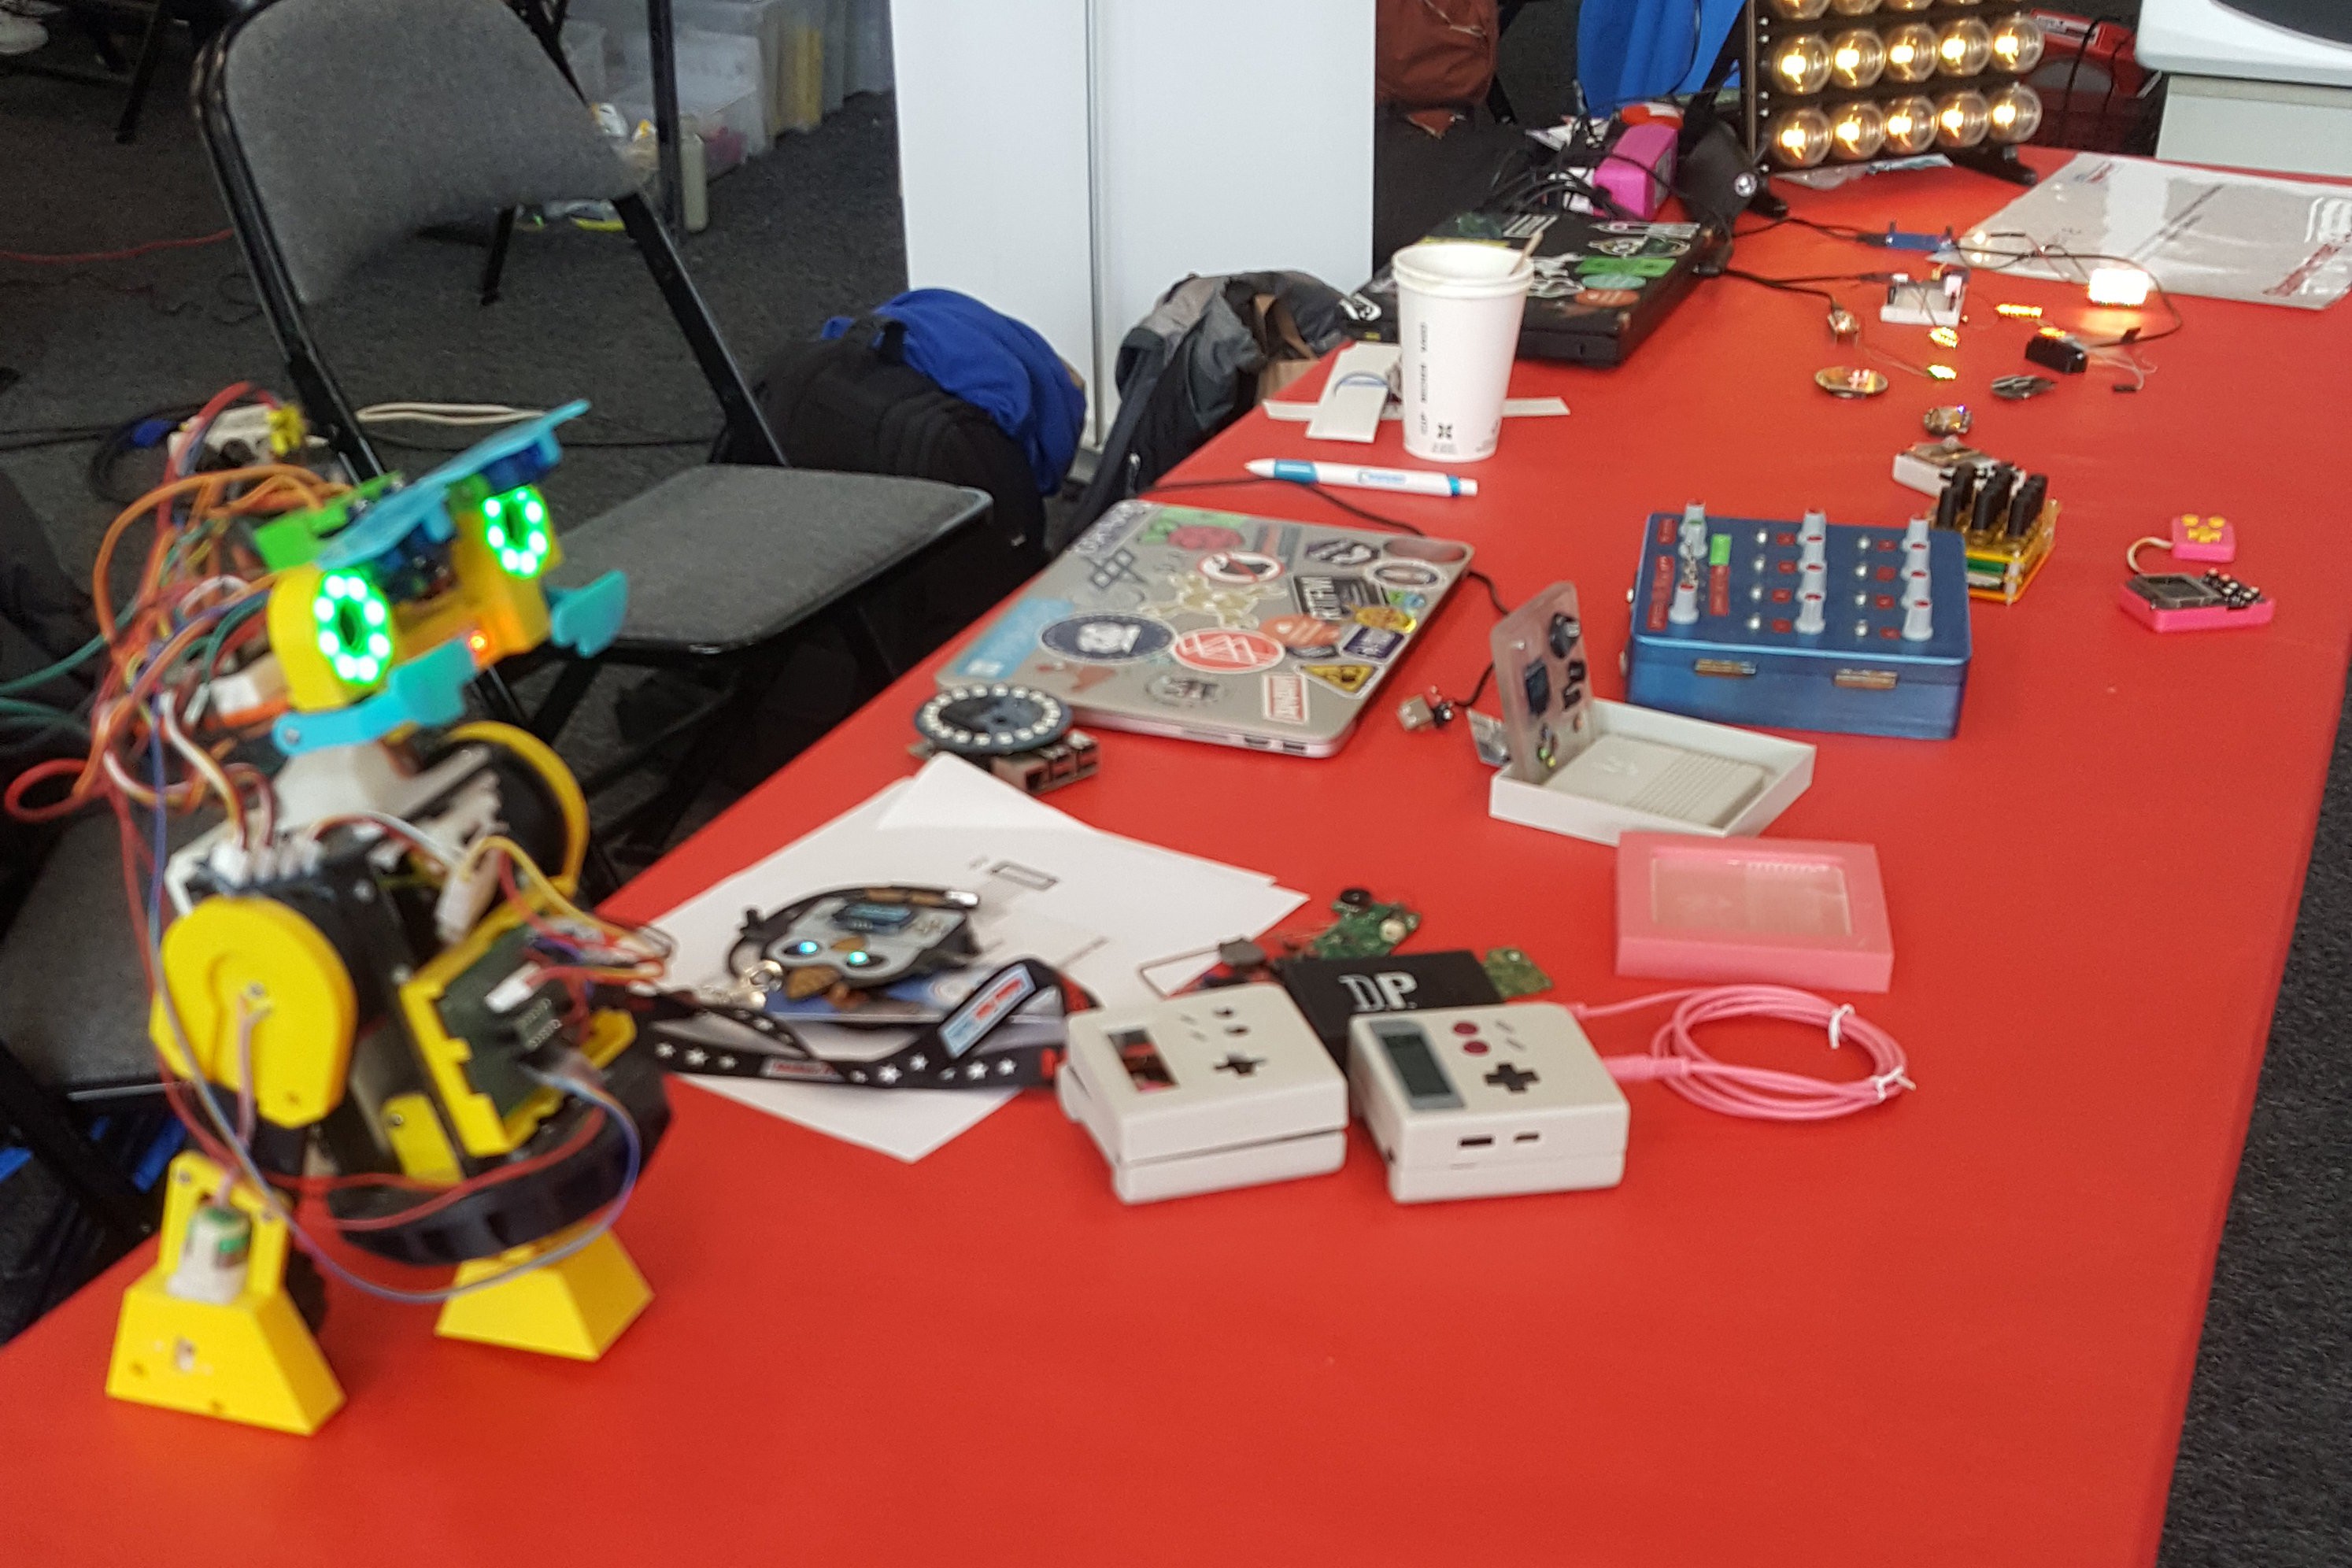
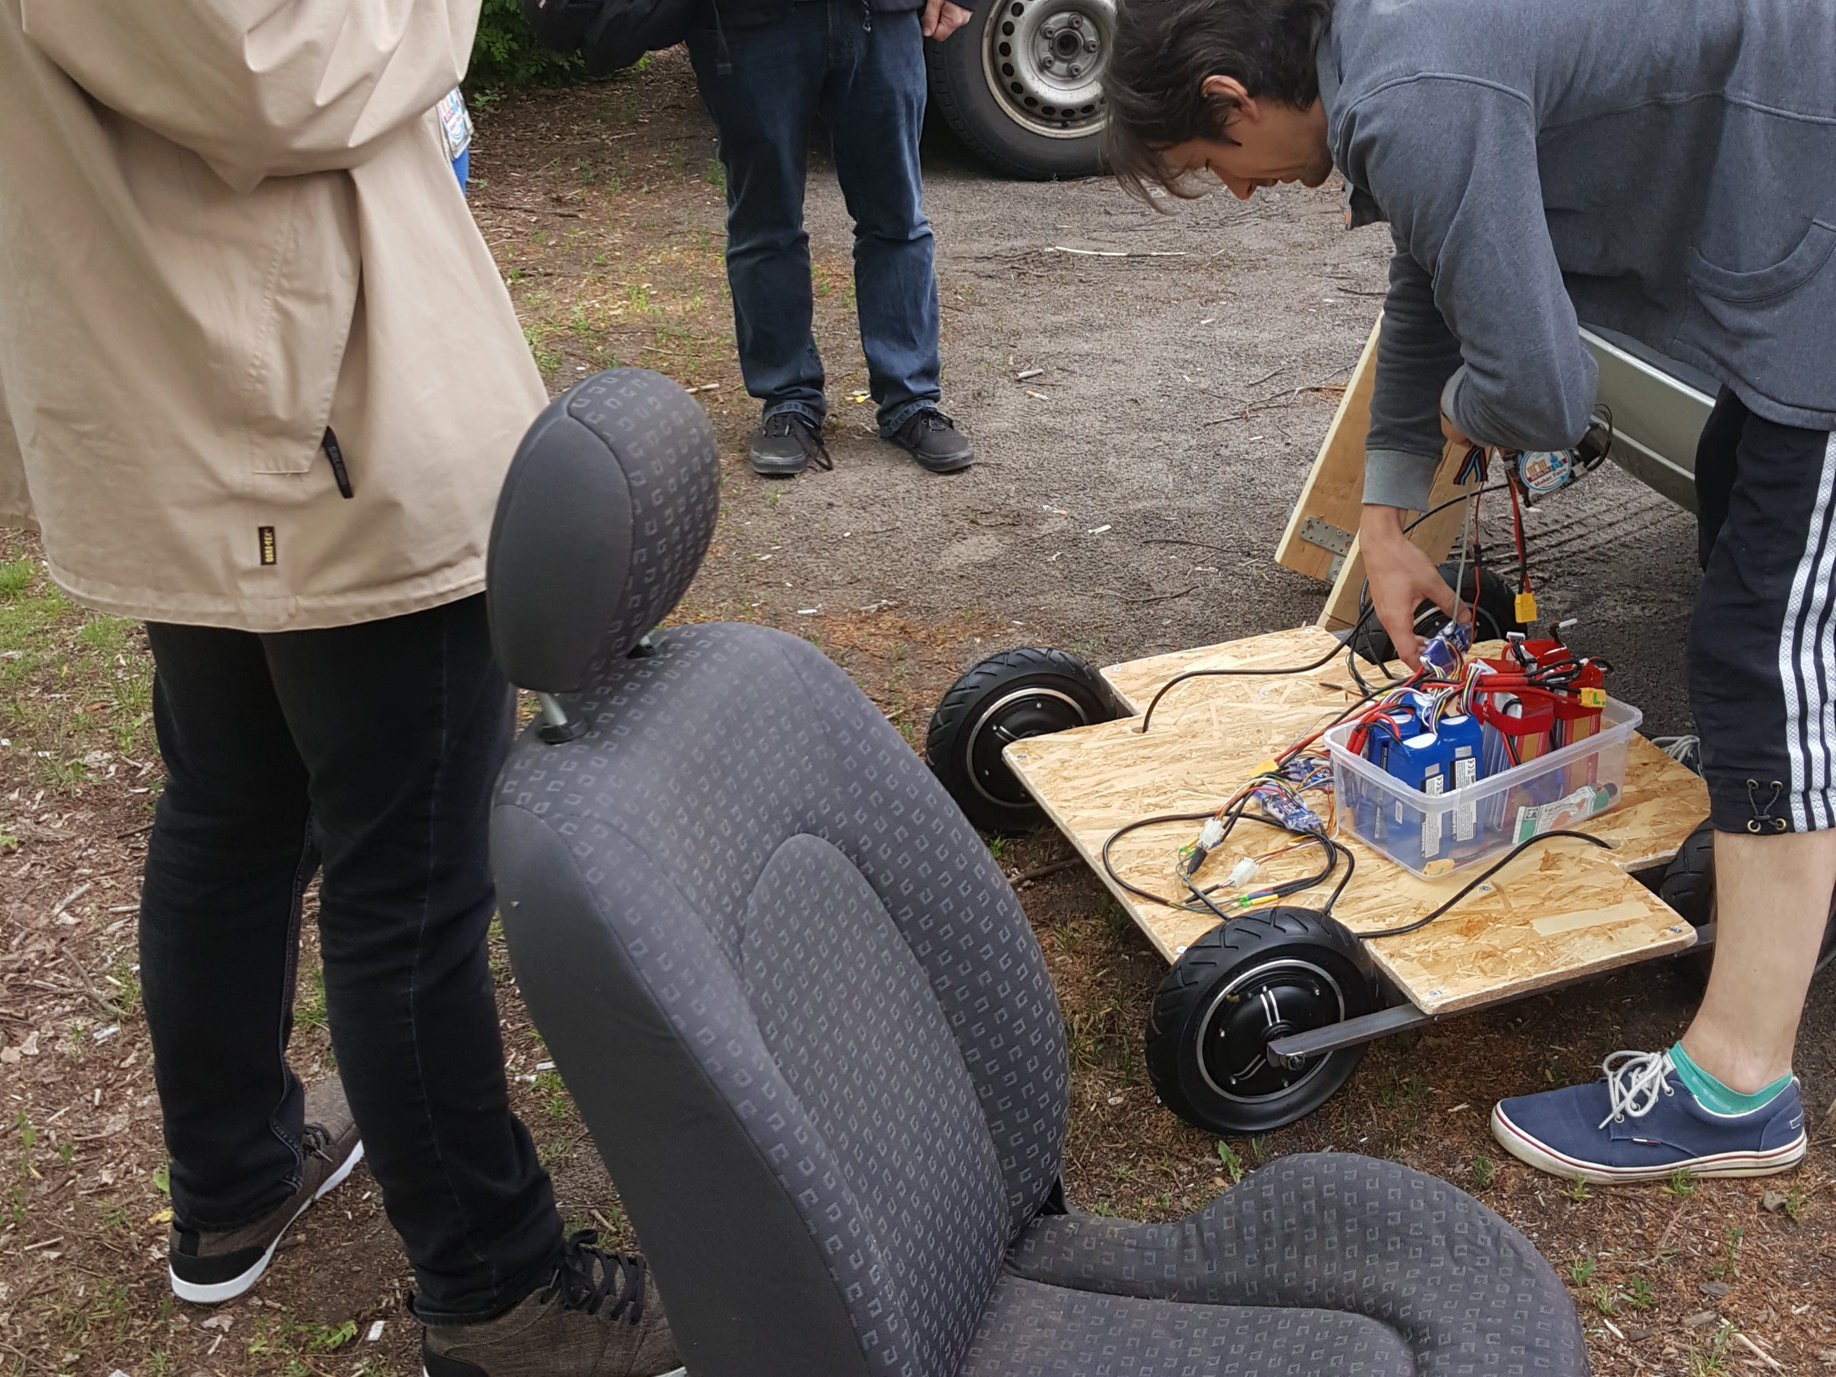
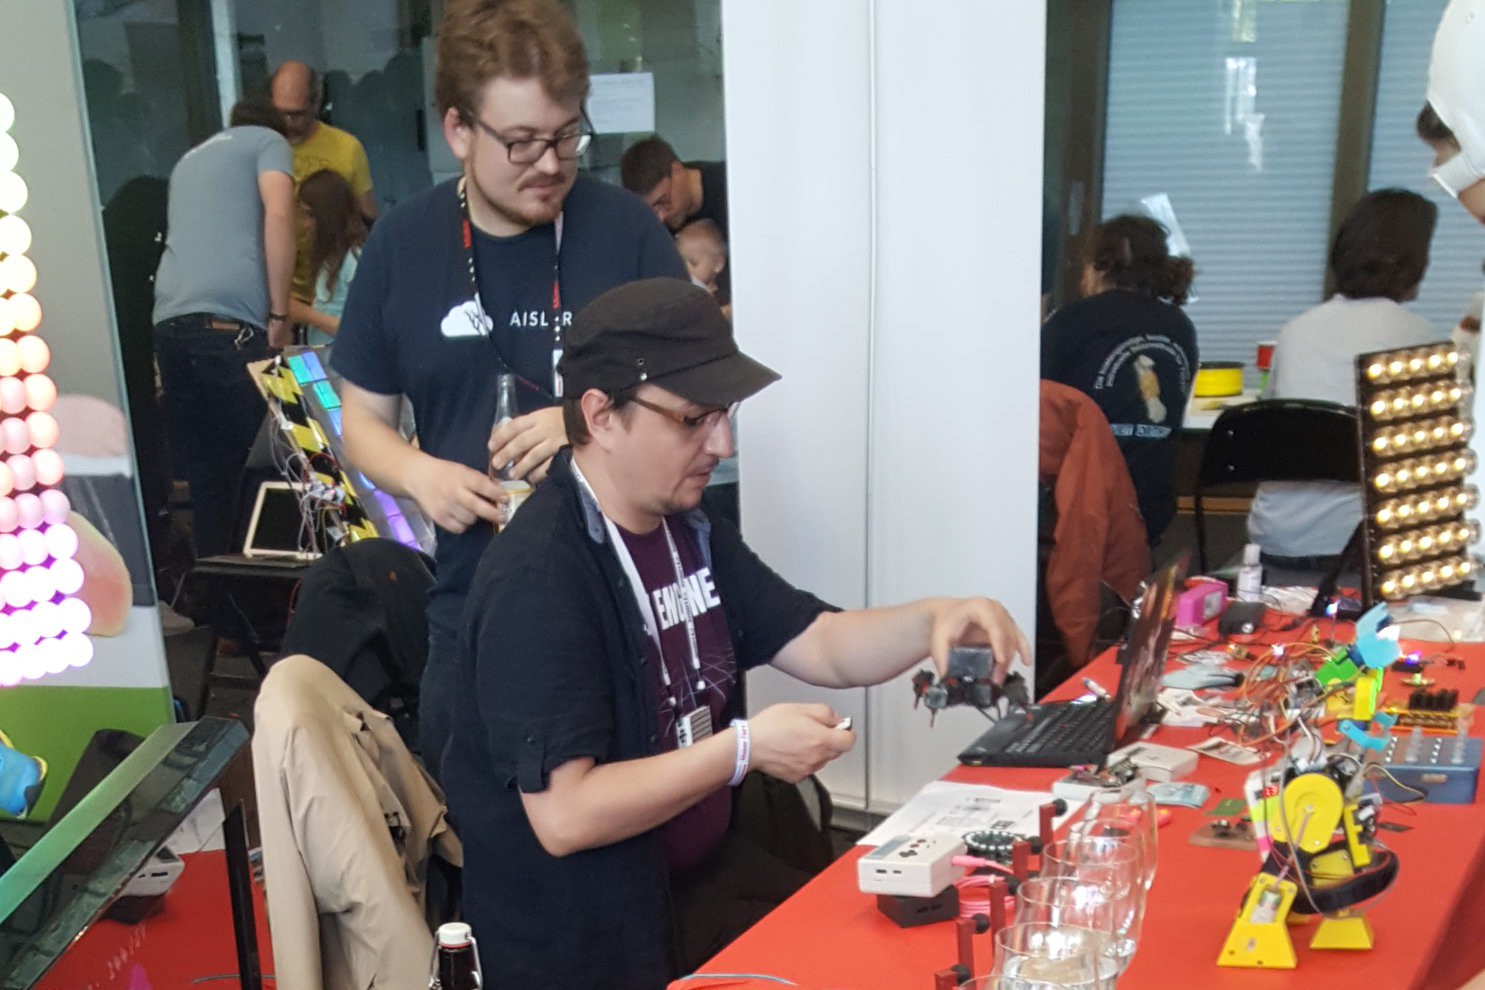
Setting up started on Thursday, since the next day the MakerFaire would be open to school classes. Clemens wouldn't take any projects with him on the plane and Alex's projects are - well - tiny - so I had the two tables to my self on Friday. With a red paper table cloth and yellow tape that would only be enough for 80% of a 4/5 Stars "tape art" logo. Fitting. It was my first "school day" and I noticed: those days are weird. Kids come with a totally different expectation than on the regular days. They come to be entertained and expect you to have games prepared. Luckily Bitluni arrived with a new top secret project, that we took for a test run on the parking lot.
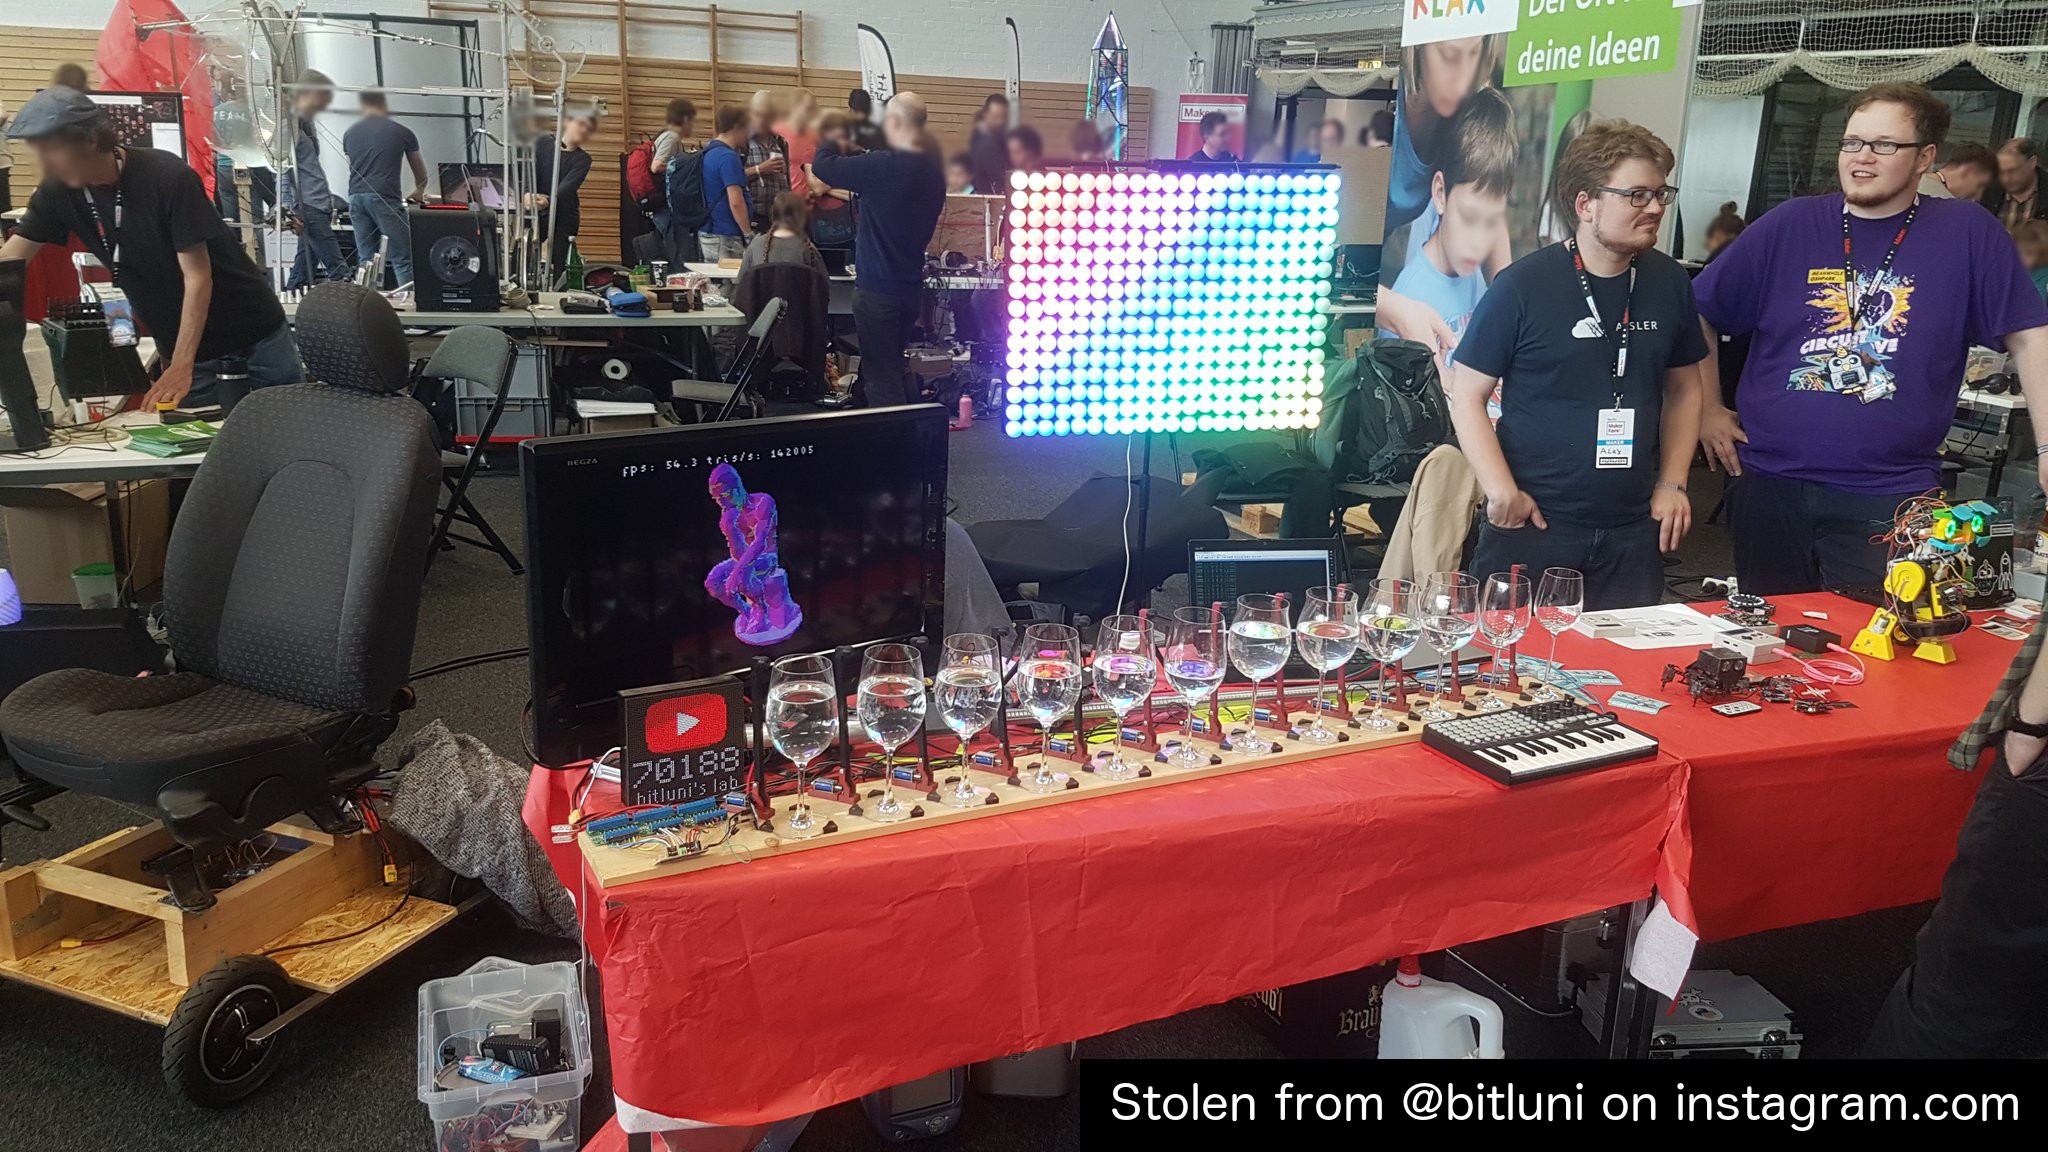
On Saturday Bitluni was assembling his projects from the beginning of the opening. He quickly ran out of table space, even though we sneakily moved a table from our no-show neighbours. At one point I yelled "Promise me this is the last project!". We were looking forward to meet people from "all over the world", who announced that they would come. One of them was @deshipu - he didn't get a table but we were more than happy to share table space, so he could show his Tote and Pew Pews. The mighty @Stefan Kremser joined the booth for a bit, I handed him back some Game Boy mainboards that he was so kind to lend me for a video.
I was happy to see my Cousin and his son and also a friend from school I haven't seen in ages. And then there was "Great Scott" and yes, "Senpai noticed me!", because he knew me from my element14 videos :3 From the first "Hardware Happy Hour" I've seen three people (that I remembered at least). People that I only knew from twitter before where - not just Arturo182. But we were happy to drink beer with him in the afternoon, to the sweet live music by wu-tang clan and public enemy - they were playing live, very very close.
we declared @arturo182 as our fifth member on Sunday, by handing him the spare MakerFaire badge and I think he enjoyed his Berlin MakerFaire experience. There was a Mexican family with maker kids, who call themselves "moon makers" ( https://www.instagram.com/p/BxsArl_pJf4/ ) and they've interviewed me for a bit. Made me happy to see how both are interested in the making scene! For element14 I'm currently working on a video for the Matrix Voice hat and by coincidence was running into a developer. I'm also pretty sure he used a selfie to escape my questions.
As always we noticed we weren't prepared enough, really need a lot more info material / handouts to not always tell the same things. At this point it seems like we can try this again very soon in August, for the MakerFaire in Hannover. I had a lot of fun, it was also exhausting and I would have enjoyed more time with the gang to actually build something. Thank you to everyone I've met, that helped, visited etc. and sorry to the Danish guy that told me a brief excerpt of his very fascinating life story - you were always very busy when I was close to your booth to say hi again!
My favorite moments where when kids were happy about my R8-J4 robot driving towards them, even though it was basically a cheap trick and I want the robot to do so much more. But also whenever I was talking about my Game Boy music player, I saw my excitement pass on to the people I was telling them about.
Astromech: R8-J4 | Matrix Voice hat and speech recognition
2019-05-14 00:03:42
It's basically a NeoPixel ring and an FPGA that handles 8 I2S microphones, plus some GPIOs and an optional ESP32 that can make the hat work stand-alone - but you still need a Raspberry PI to program it. Via SSH over another computer.
It's a BlinkenLights microphone.
It only get's interesting when you combine it with voice recognition software, granted the examples also work with a USB microphone connected to the Raspberry PI.
First I tried to get the wakeword example from their "matrix core" library to work, but seemed to have failed at setting up the Sphinx Knowledge Base. It triggered very randomly and never did I see a word that I had said, even if I said the word that supposedly triggered before that.
The second offline voice recognition software that I've tested is "porcupine" by picovoice and their speech-to-intent engine called "rhino" - pretty impressive stuff, but their context demos are for a coffee-machine, a music player _or_ a light switch. Nothing interesting for a robot.
Tomorrow I will "play" with the snips platform, as someone on twitter suggested.
disable WiFi power management when using Edimax USB edit /etc/modprobe.d/8192cu.conf and add line: options 8192cu rtw_power_mgnt=0 rtw_enusbss=0
Shameless Self Promotion
2019-05-10 19:39:55
I've filmed two videos for element14 now, and I feel like I should promote this here. You don't have to watch it or click on it, I just wanted to get the word out some more. I will bring both projects with me to the MakerFaire Berlin from the 18th to 19th of May. We will have a booth there, that's me, @Alex , @bitluni and @Clemens Mayer!
I might have talked about this somewhere already, but here's my original hardware, portable music player. They call it "Gameboy Walkman", I call it DMG player.
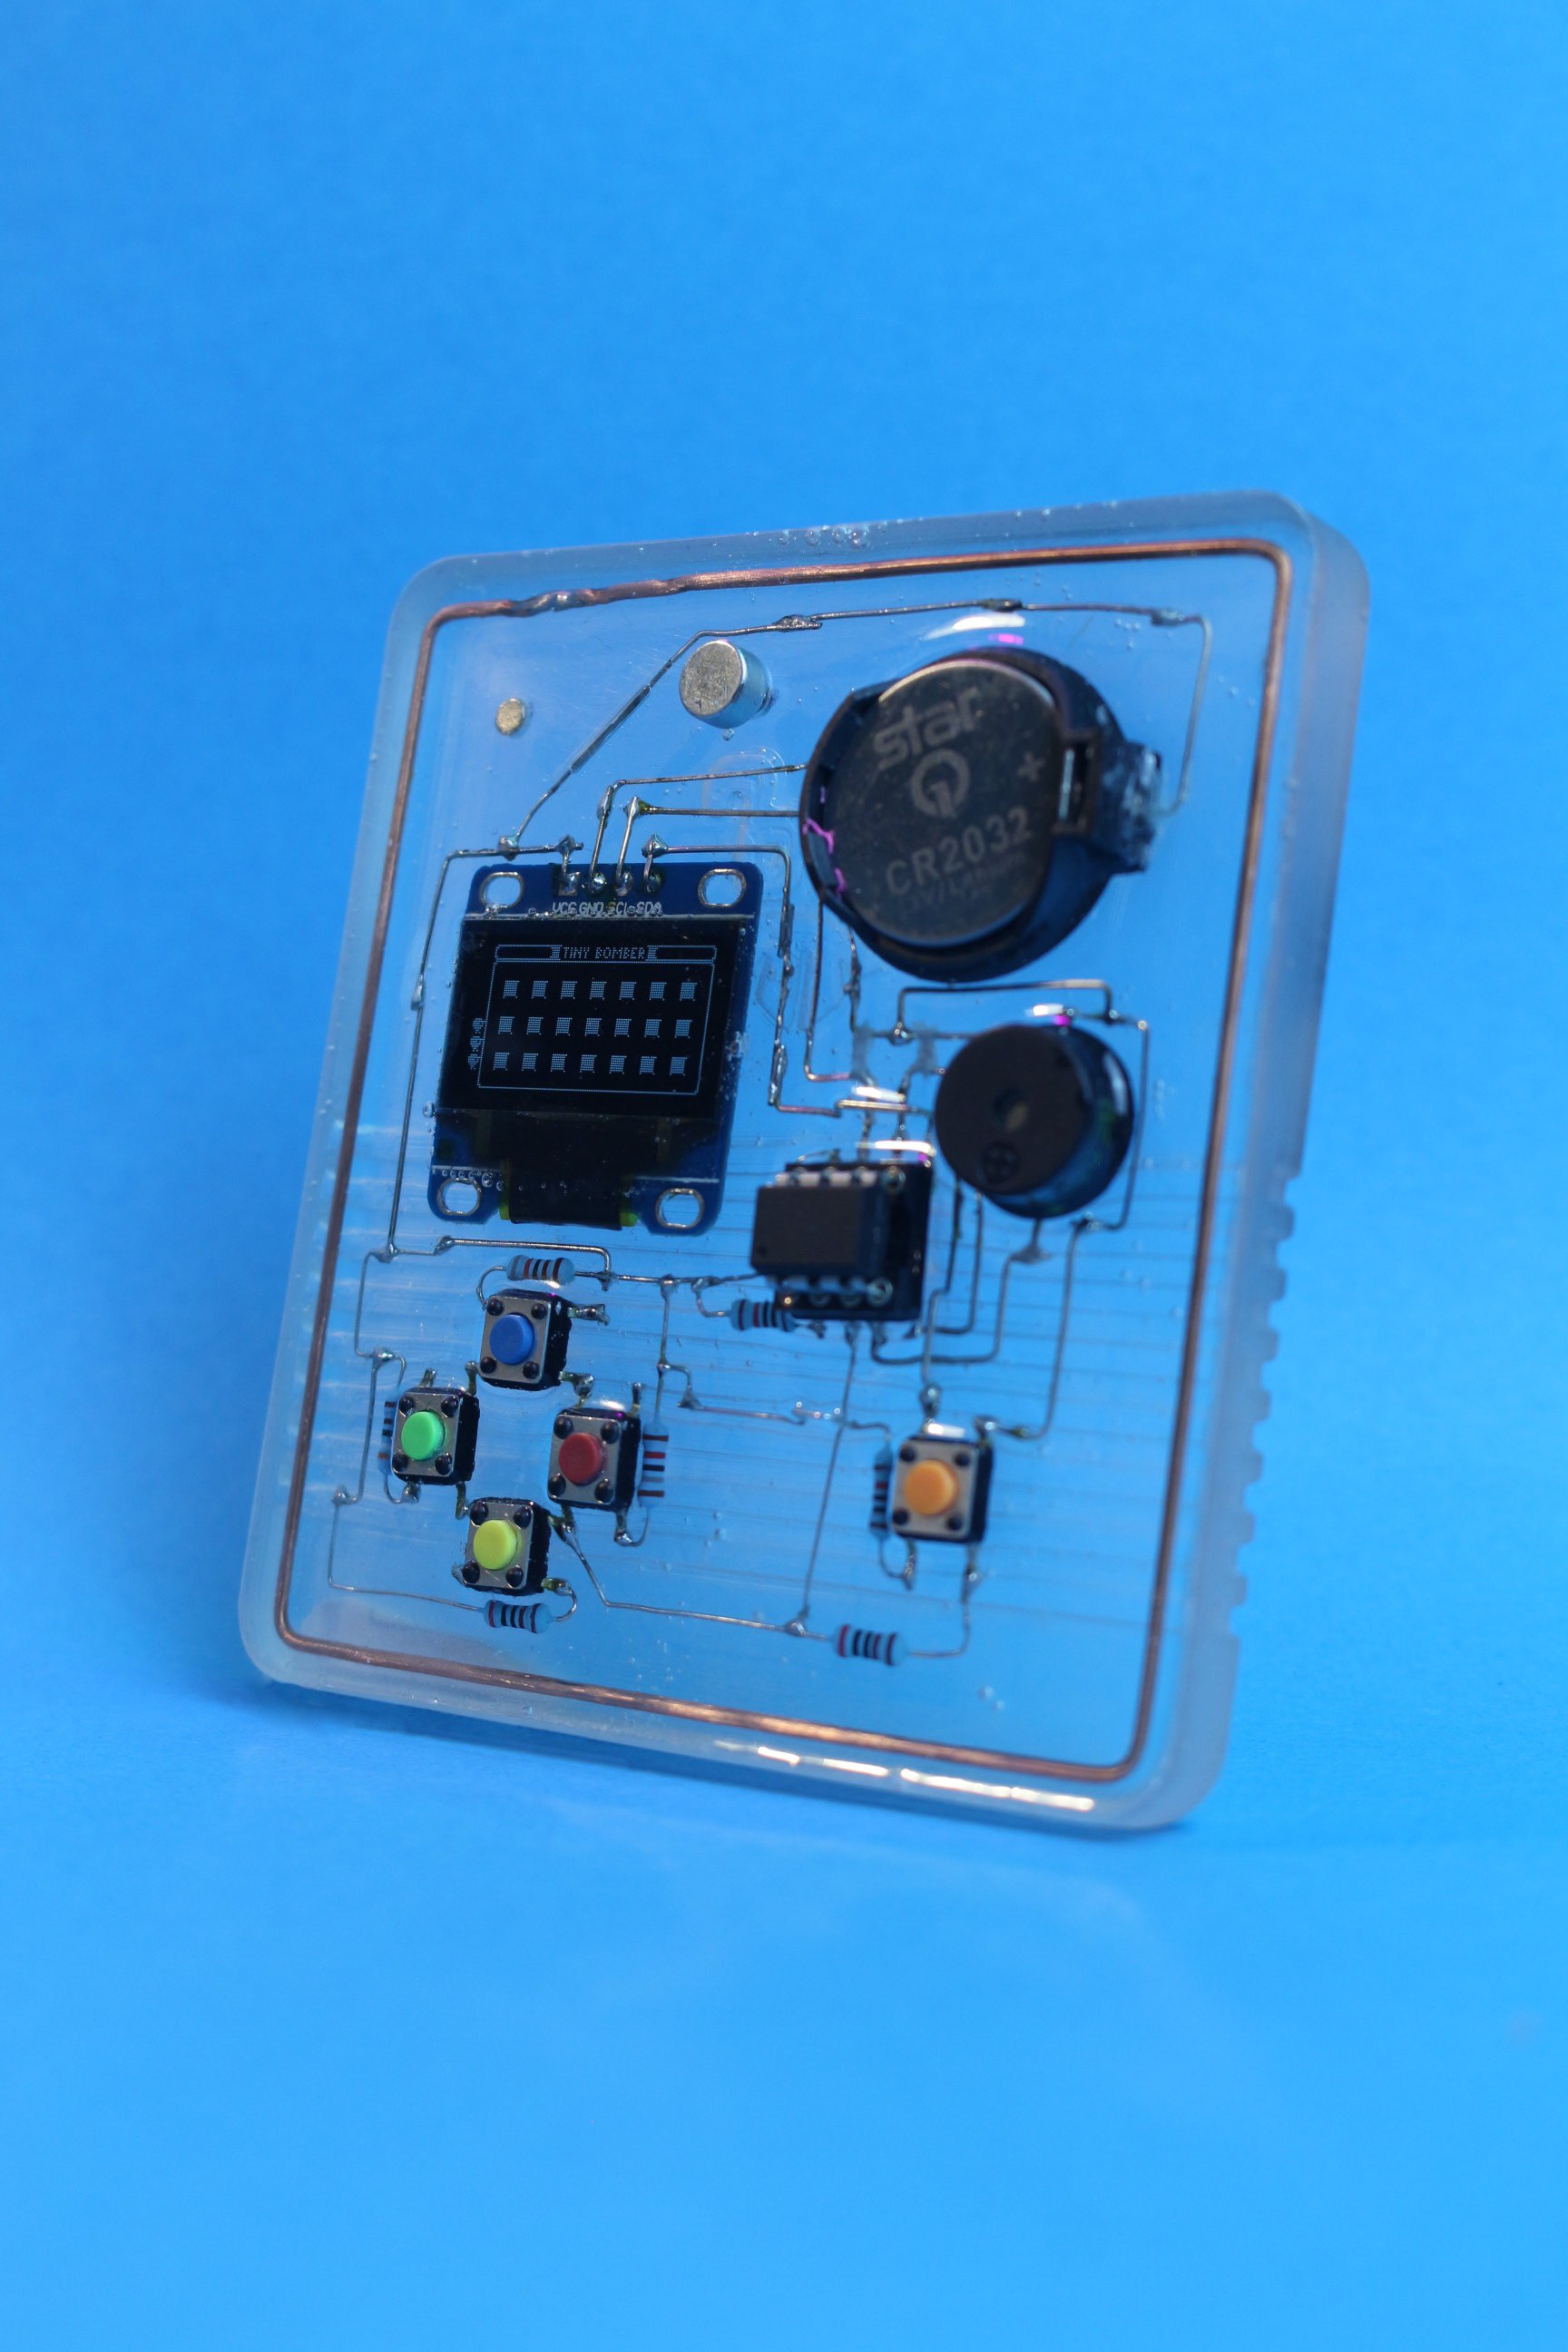
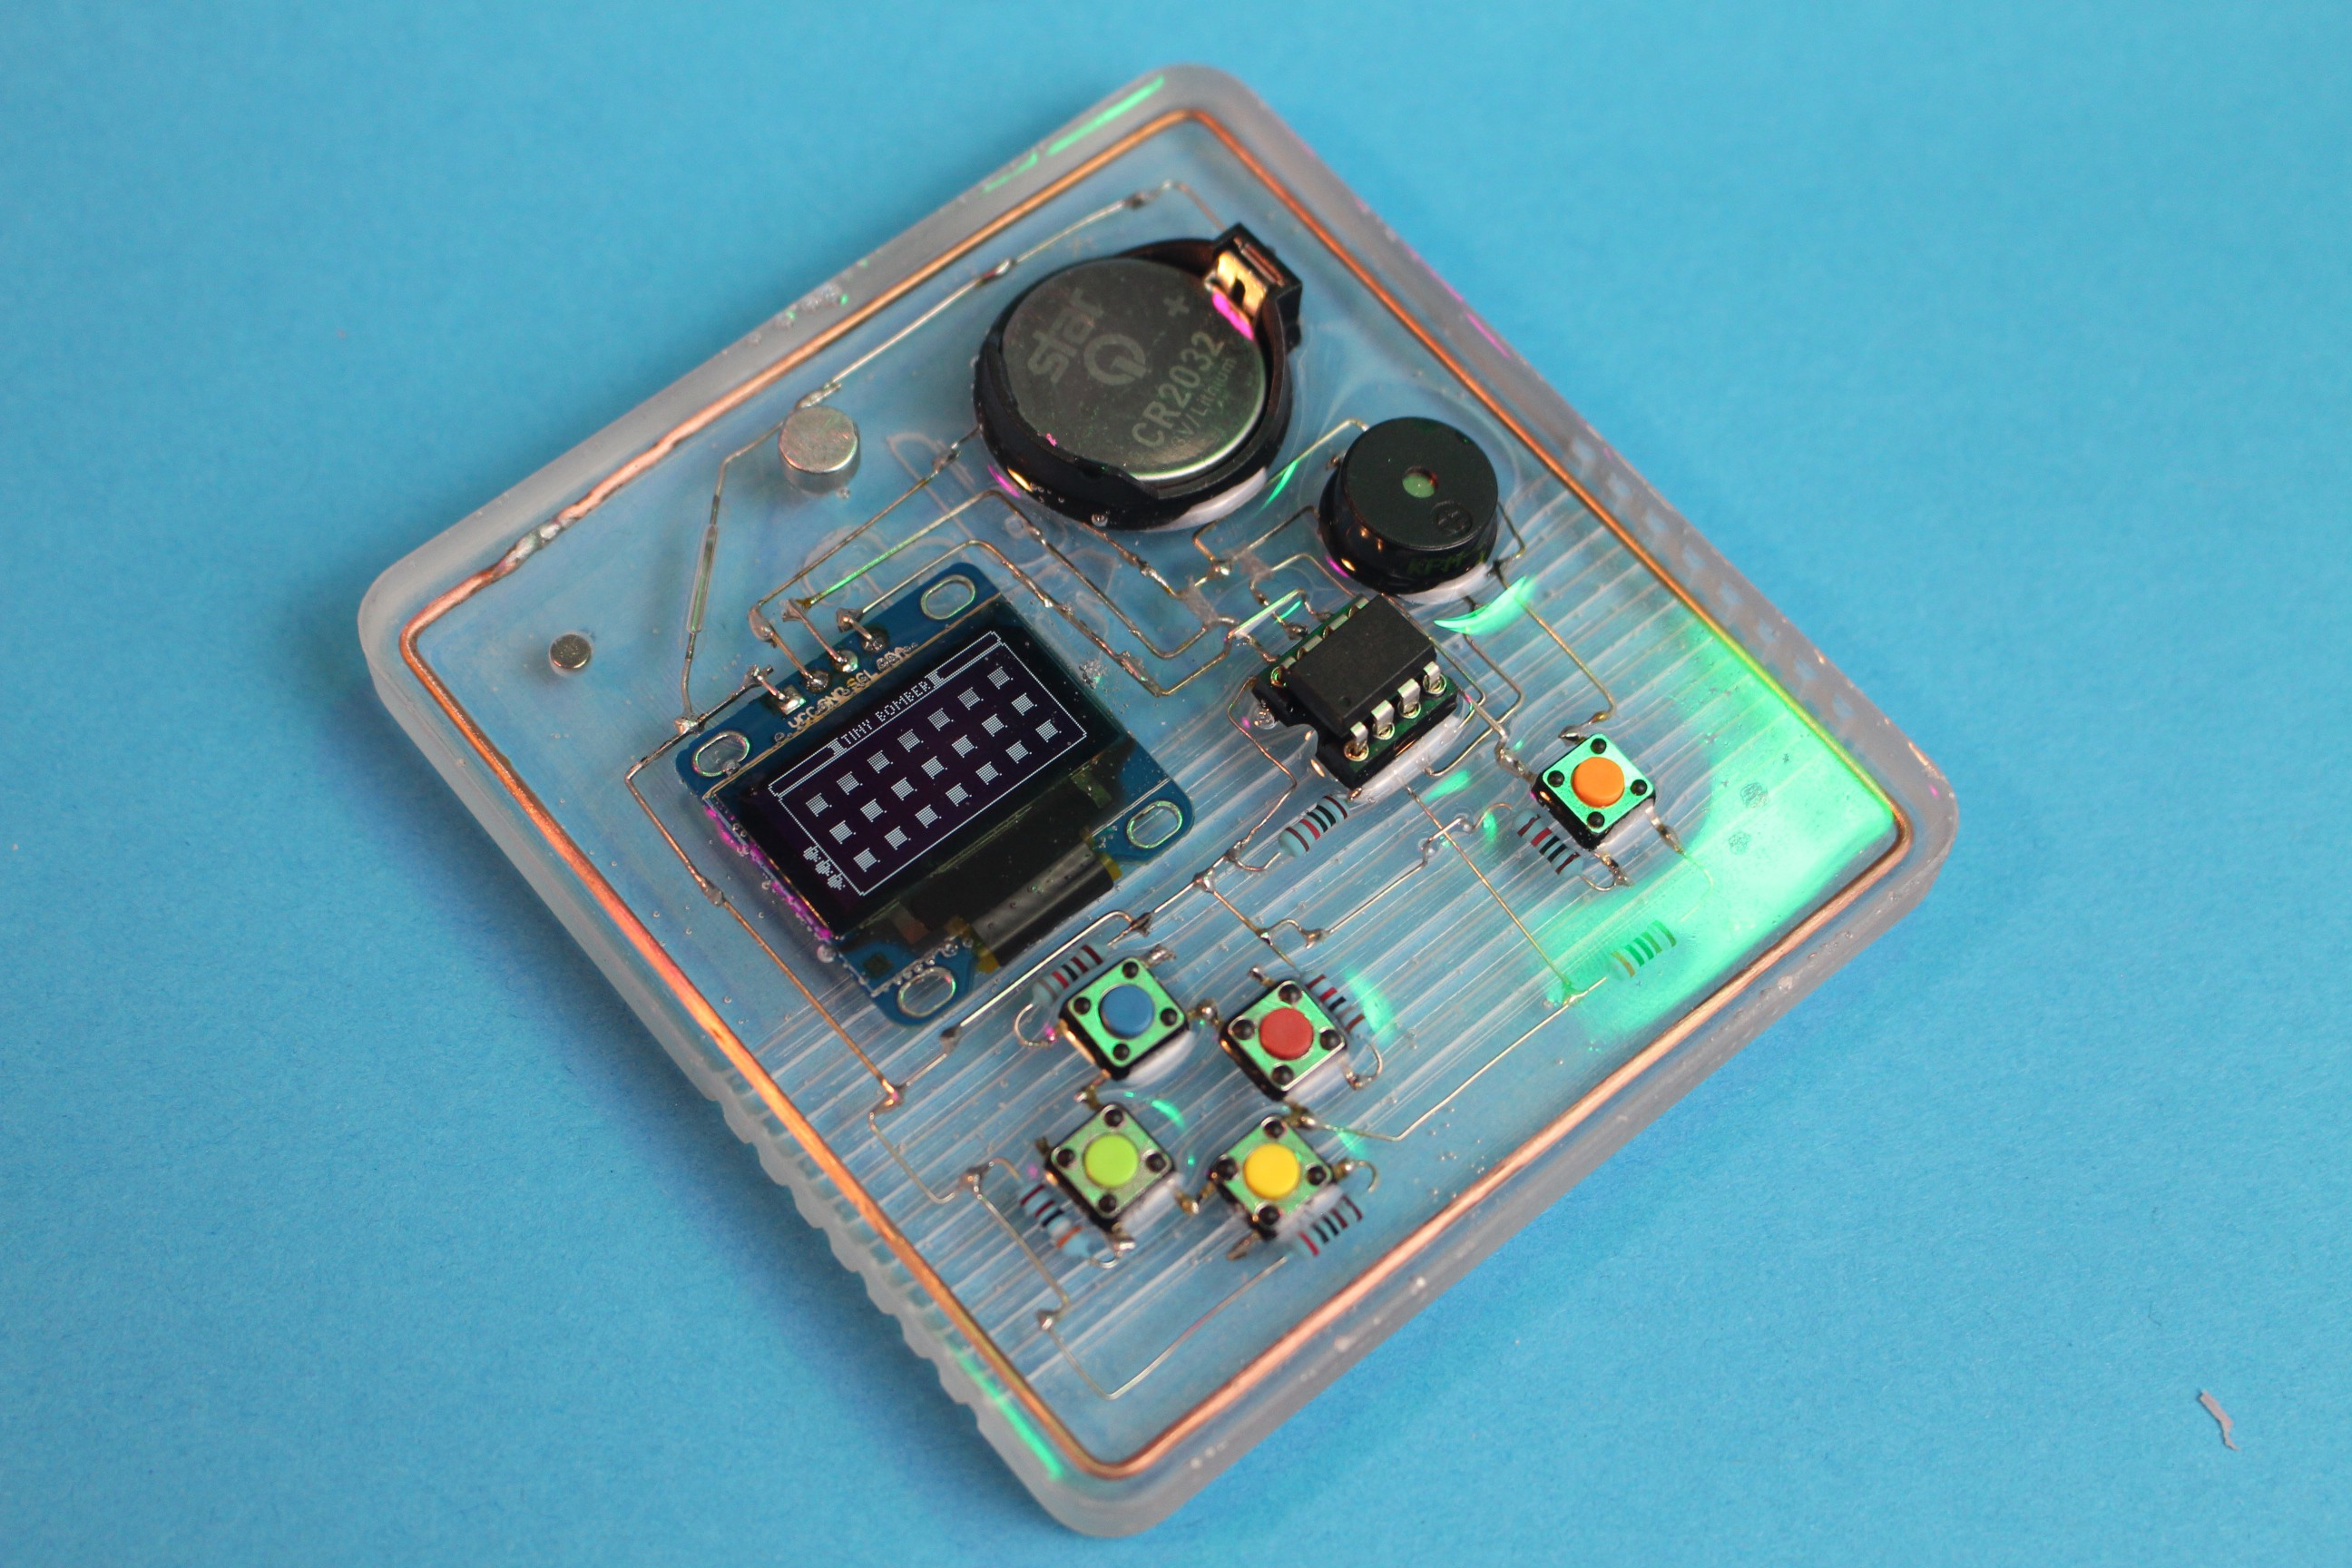
And here I am putting it in resin, like so many in the comments wanted me to do.
Skeleton Attiny85 Handheld | Boom, resin!
2019-04-11 17:45:50
done! :)
Skeleton Attiny85 Handheld | encasing it in resin
2019-03-23 18:35:15
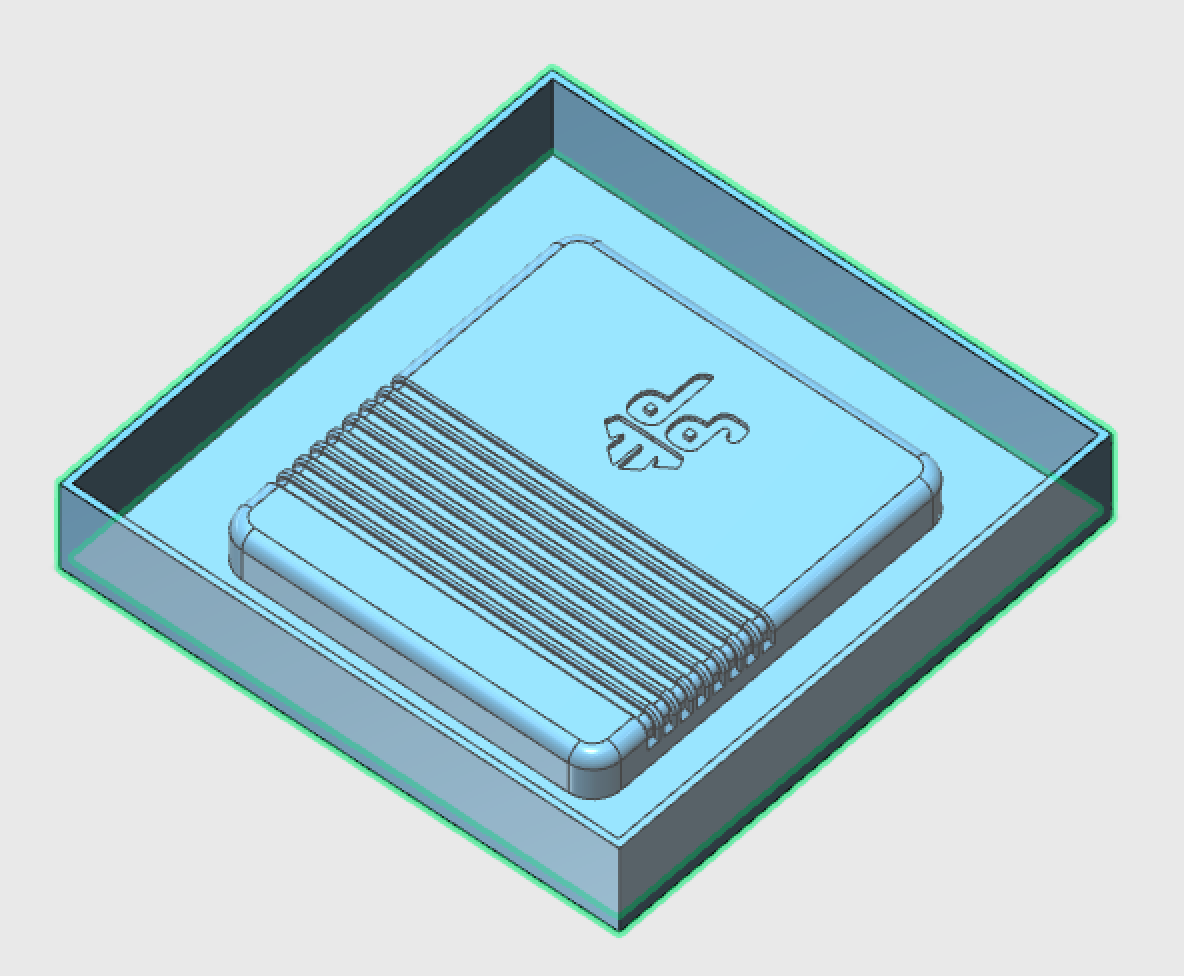
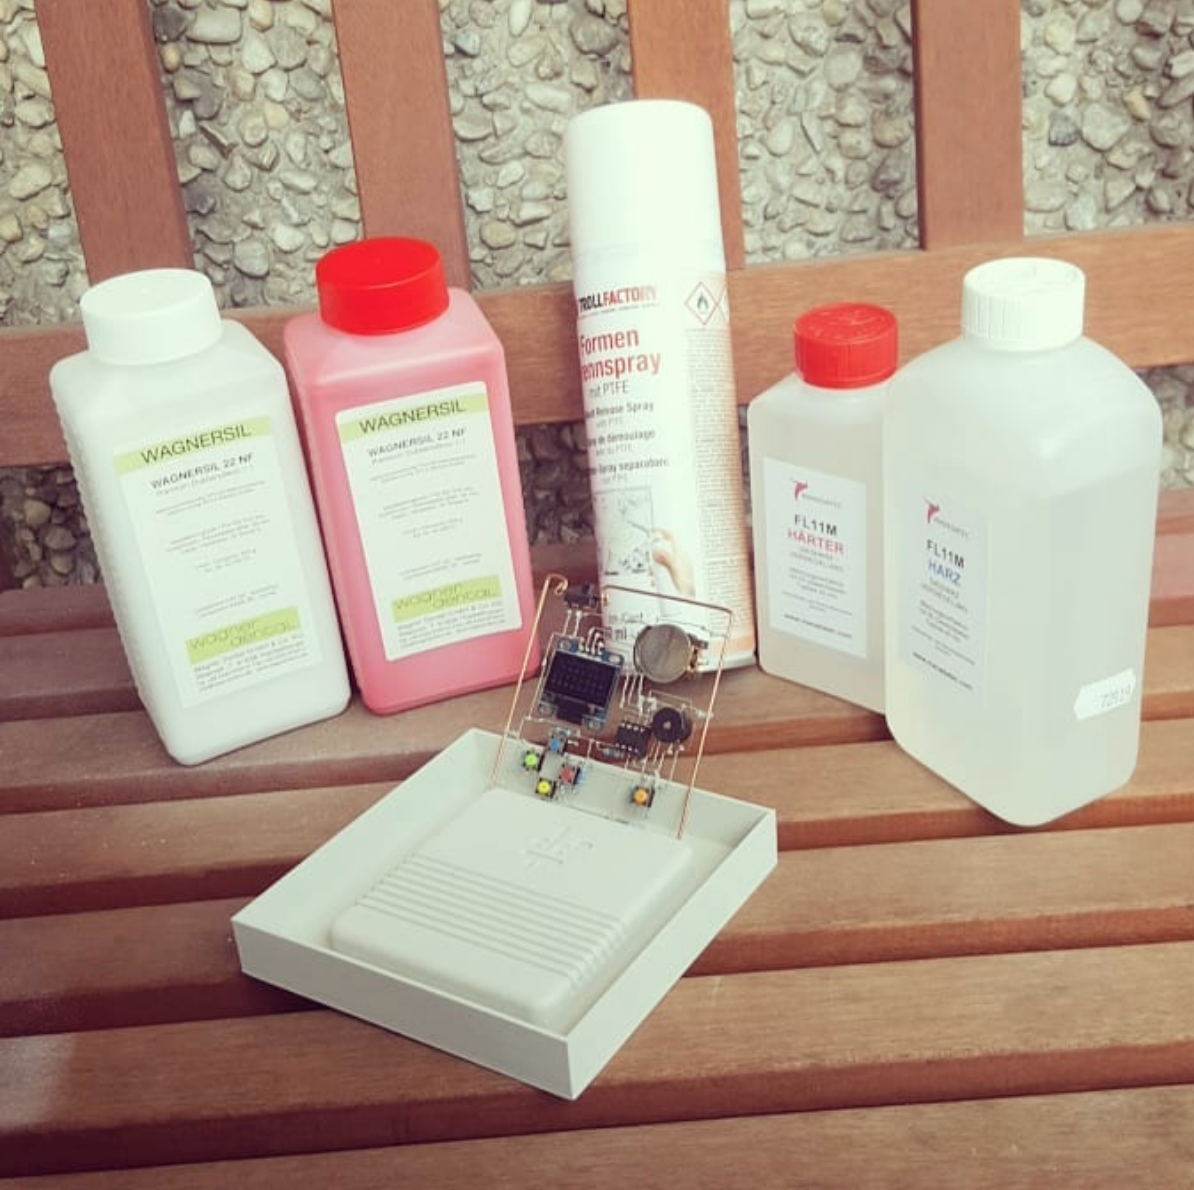
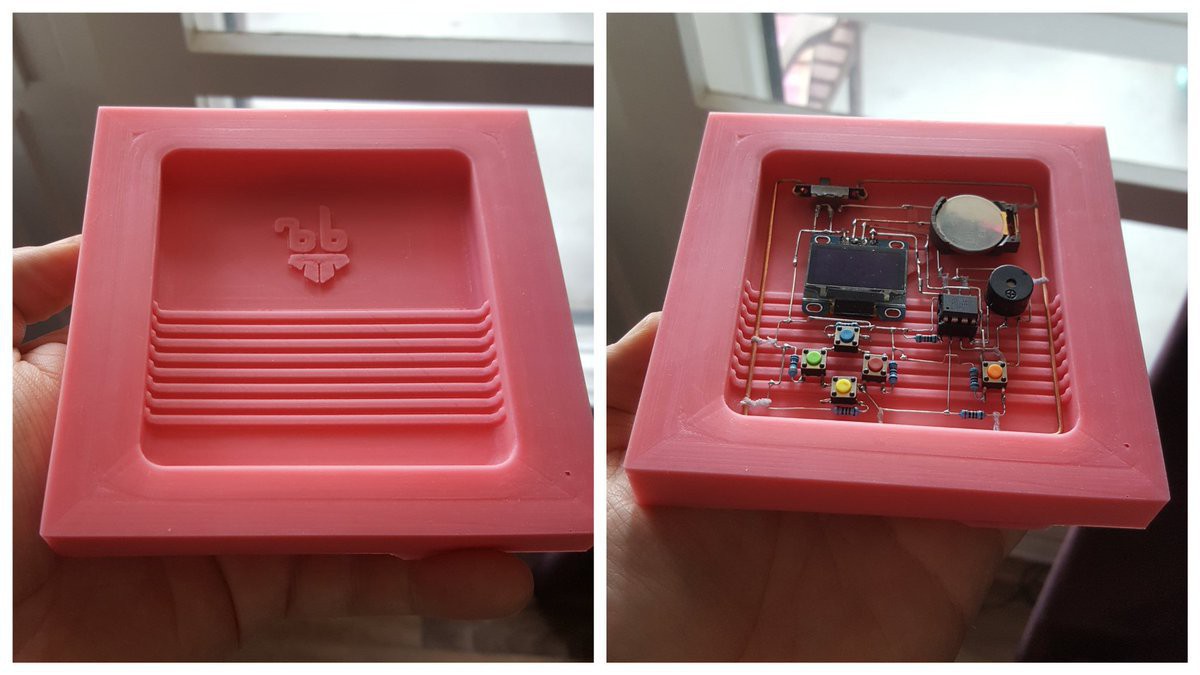
I bought a bunch of things as a result of the feedback in the video comments and what people said before that already - basically a whole set for casting stuff in resin. Then I designed a case mould in 123D Design where I would cast the negative silicone mould in. The silicone came out wonderfully, but when I tried to pre-seal the switch and IC socket, the resin got into the parts, meaning I have to resolder them. It also seems as if the ratio wasn't mixed 100% right, as the resin is still very liquid, although it has been poured 3-4 hours ago. If it is not hard tomorrow morning, then I will mix up a new batch and remove the first layer of resin to start over.
Skeleton Attiny85 Handheld | Revision for element14presents
2019-03-09 19:51:13
So I made a revision of this project for my first episode for element14 :)
WIFI Game Boy Cartridge | exiting views
2019-03-06 22:11:51
Some nice beautiful purple boards arrived at home today, but I'm trapped with three dudes in a trailer house in Luxembourg for the next 12 days :D
WIFI Game Boy Cartridge | Let's do some test boards
2019-02-08 10:12:03
I'm scared of that rats nest of wires on a breadboard that is hidden in a box. Thanks to some experience I gained with using IO0 and IO2 as a regular pin, I know that it's okay to use them as the missing two address line pins. I might steal one of them back to be able to reset the game boy, as I don't think using one of the serial pins is a good idea, especially if you want to have a serial debug terminal ;)
With less address pins the programs written / compiled for should adjust memory bank switching for smaller banks. I think that's doable.
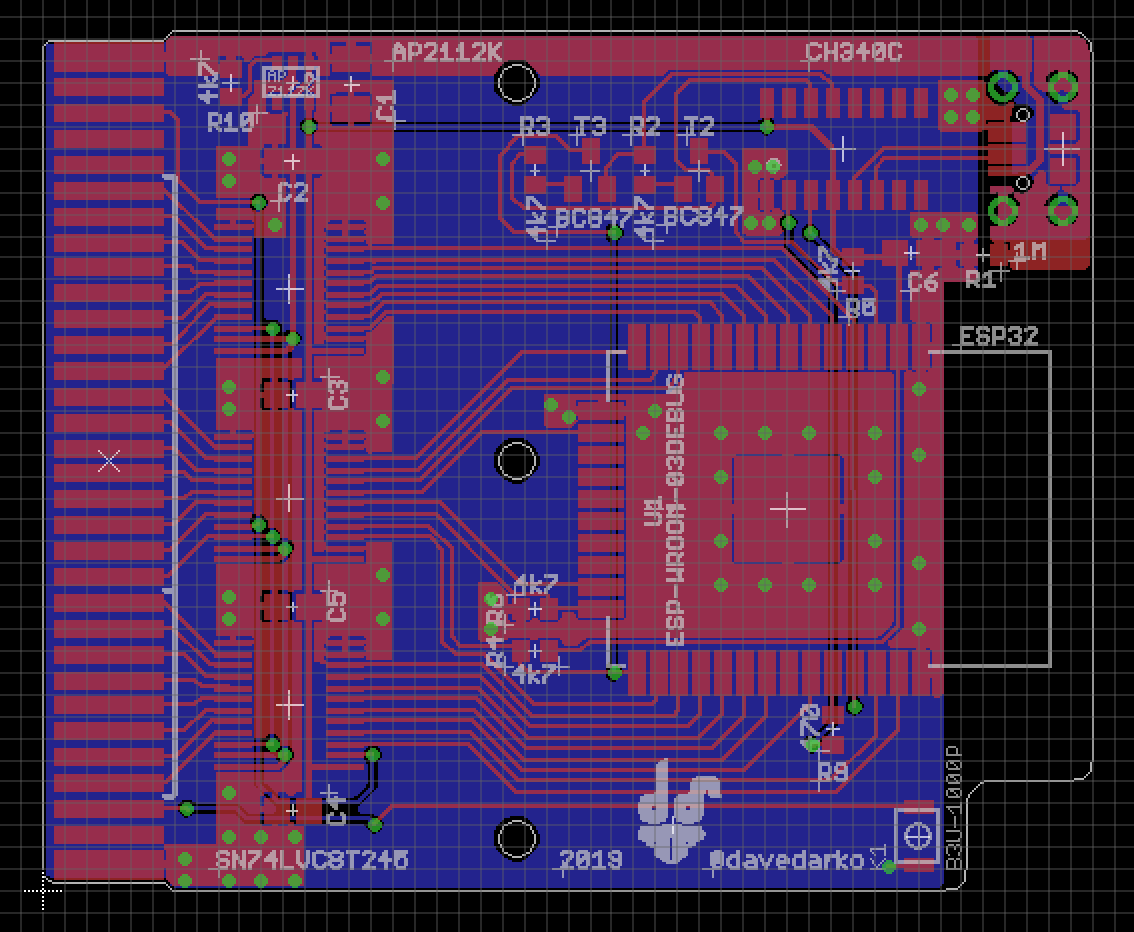
Not sure if I said this here, but I was able to run the I2S parallel code on the ESP32 and that gave me hope. After a lot of unexpected twitter feedback about groundplanes and copper tunges, I made some changes and this is what I came up with. Cleanly routed, doesn't fit any reproduction cartridges, but form follows function, right? There's even a 1M ohm connecting the usb connector shield to Ground (not even sure if this is 100% necessary, but better safe then sorry, right?
Power consumption of the ESP vs. 4 AA batteries inside a DMG or even worse - 2 AAA batteries inside a GB Pocket is still an issue with this board. The plan is to have one AAA LiPo added to a later revision of the board. To get an idea how this could look like, check out the Pokemon Pinball cartridge, or any Game Boy rumble cartridge for that matter. This design is supposed to be powered over USB, since it's a dev / debug board.
MAX3421E FeatherWing | Finally working prototypes
2019-01-26 19:34:03
After I read 2.7V on the VCC pins it finally made click - the VCC pins weren't connected to the 3.3V pin, but got voltage through diodes on the enable and SPI pins. This made me so happy, that I bought some new boards and parts and I will make this a tindie product at one point.
Arduboy MAX | for those who don't want to wait on smth that might never happen :p
zynthia - sequencer synthesizer | filtering and stuff
2019-01-14 00:45:40
@WooDWorkeR asked me to join the Drehkommando meetup at c-base and since I also had to bring him some goodies from the Chaos Communication Congress, I couldn't say no :D https://twitter.com/woodworker/status/1084192948718370816 we were able to add zynthia 2.0 to the pile of wires and noise gadgets and it didn't sound too bad. Especially when played loud ;)
But I noticed some issues that I wanted to work on later. I had no control over volume at all, something I was able to fix with a variable resistor used as a voltage divider on the output. I also had a lot of high pitched noise on the output, something that I wanted to tackle with a High Pass filter. Yes, you've read that right - I was stupid until I noticed I need a Low _PASS_ filter instead :D
I then combined it with a simple dc-offset filter - there's also a High Pass filter in the schematics taken from stackexchange.
Followed by a fixed Low Pass filter and previously mentioned volume knob. You can see spot the two signals here, yellow is coming directly from the 40106, blue is after the filter, but before the volume potentiometer. https://www.instagram.com/p/BslYsZqnE6b/
Some slight changes to the capacitor values allow the sequencer to run a bit slower. The synced pitch mode now has a wider range of frequencies. The tone range of the knobs is now deeper.
With the pink board I also fixed the direction of the potentiometers, when you now turn them clockwise, the tones go up.
it might make sense to add an external clock input as well, but I want to make sure that any voltages are safe for the trigger level.
Skeleton Attiny85 Handheld | Conclusion
2019-01-08 22:15:48
At one point I had a thought that I could vary the time between asking the charlieplexed buttons and add a piezo buzzer to one pin to get some noises out of the little handheld. But then you would have to have sound all the time, because you want to scan the buttons as well.
It would make much more sense to have the buttons connected via a bunch of resistors to the ADC, so you get free pins and a way to add a buzzer. The project I named in an earlier log is a way better basis to do so.
It was fun to solder up the prototype and build a charlieplexed "keyboard" for the first time, but programming a game for it wasn't really on the time table sadly. I enjoyed the positive feedback from everyone on social media though and might think of something at a later point. Thanks for having this contest, hackaday people!
Hehe... just noticed the countdown said "since" and not "until". Anyways, nice to add some thoughts afterwards then!
Skeleton Attiny85 Handheld | Working with the charlieplexed buttons
2019-01-08 22:08:07
I admit it was a bit trial and error development, but it worked out in the end.
It has been a while that I made an entry here :) I was soldering the kit by Brian last weekend as a present for my Grandparents! Worked quite well, as it uses the same technique as my #PCB word clock - soldering LEDs upside down and shining through the PCB. There are a lot of PCB art trees out there, but this is one of my favorites. Probably because the code was inspired by my #sloth badge and Brian was cool about it and gave a lot of credits on his tindie page ;)
Of course I had to run into troubles while soldering it, a USB breakout board had all the pins connected, so I had to reprint and resolder the base.
The order at LCSC got here quicker than the NRF24 and CC1101 modules, in fact I'm still waiting for them! Still I had to prepare kits and label what was needed on them. Most of them aren't that bad, just missing an optional LiPo connector for badges that can also be powered by three AAA batteries. They're still nice ESP8266 based badges, but with no "extended RF range". There are #Shitty Add-Ons as well and some stickers.
Skeleton Attiny85 Handheld | so it begins
2018-12-11 13:38:35
nice start so far :) I will try to port the games from @Daniel Champagne for the #Tiny Joypad by @megazoid to this handheld, because I made the buttons work yesterday! With a trick I might be able to add some sound, but not like them. I really enjoy their take on the attiny85 handheld and the 3D printed case with a swappable / rotating display.
The broken OLED is replaced, I've added some more of the threads that I made stronger with the help of liquid super glue! The tweet that I almost deleted because I feared spamming people got pretty crazy in comparison of my usual tweets.