2016-03-25 21:27:42
MiDi Drum machine | inspirational youtube video
Belgrade Badge DemoLog | debian in virtualbox for now
2016-03-25 10:49:13
So after I installed "sudo" and "make" to the running debian image, plus the libs that were stated to be installed on https://hackaday.io/contest/10521-belgrade-badge-demoscene I got the demo running! Yay.
USB cable tester | woohoo
2016-03-16 17:06:38
Yay, this project got featured on the OSHPark blog :)
(w)roomtour - a glimpse into a parallel world forming in my dad's laboratory
2016-03-12 00:59:34

Whenever I visit my parents, something new almost always awaits me in my dad's "laboratory". I will share some pics and videos here, because I like what he builds and wan't to share it. Taking this whole youtube thing a notch further, here is an 'on phone' edited video, dubbed with an MacGyver inspired theme I played my self, to set the mood. My dad builds stuff since forever and I remember the long explanations I got as a kid, where I zoned out because I couldn't keep up, but didn't want him to know.
---------- more ----------
This is a hacked tank RC model, featuring an arduino and a bluetooth module.

Here's a little line follower robot, transformed to an R2-D2 with the help of some recycled plastic bottles.
This little beauty is another bluetooth / arduino vehicle and it drives so nice.

Some more prototypes of converted RC cars, using arduino+bluetooth.

and another one...

Plastic bottle cap art - that's at his second laboratory though.
This yellow case is 3D designed by me under the guidance of my dad, he later painted it and added some more details. There's more to see there, I'm gonna take some more pictures on sunday..
Me building projects from hackaday.io | Snail Mail Notifier by Solenoid
2016-03-09 22:34:53
#Snail Mail Notifier by @Solenoid
This is a long time shelfie, because I never had the 0805/0603 parts - and I'm not done yet. I'm just now able to use and program the receiver as a digispark. Rewarding hacking around though. I hope I can get some decoding of weather stations going. This is one of the first boards I got from a member of this community, and I like that very much. And by the way, look at those diodes! And of course, the LED is in backwards 🙈
An interesting link I found, where the digispark is being used as a crude oscilloscope, takes PIN 2 as an input, which is coincidentally the same pin the data goes on the 433MHz.
http://digistump.com/wiki/digispark/tutorials/digiscope

Bootloader: https://github.com/micronucleus/micronucleus/tree/master/firmware/releases
avrdude -p t85 -c usbasp -B 20 -U efuse:w:0xFE:m
avrdude -p t85 -c usbasp -B 20 -U lfuse:w:0xE1:m
avrdude -p t85 -c usbasp -B 20 -U hfuse:w:0xDD:m
avrdude -p t85 -c usbasp -U flash:w:t85_default.hex:i
And some cheat sheets, since I always forget:


upgrading soldering equipment
2016-03-05 12:09:47
So for the last few weeks I had to solder with a discounter soldering station that I've bought for 15 Euros. It's basically a screwdriver, heated by the power of mains, hidden in a big clunky green case.
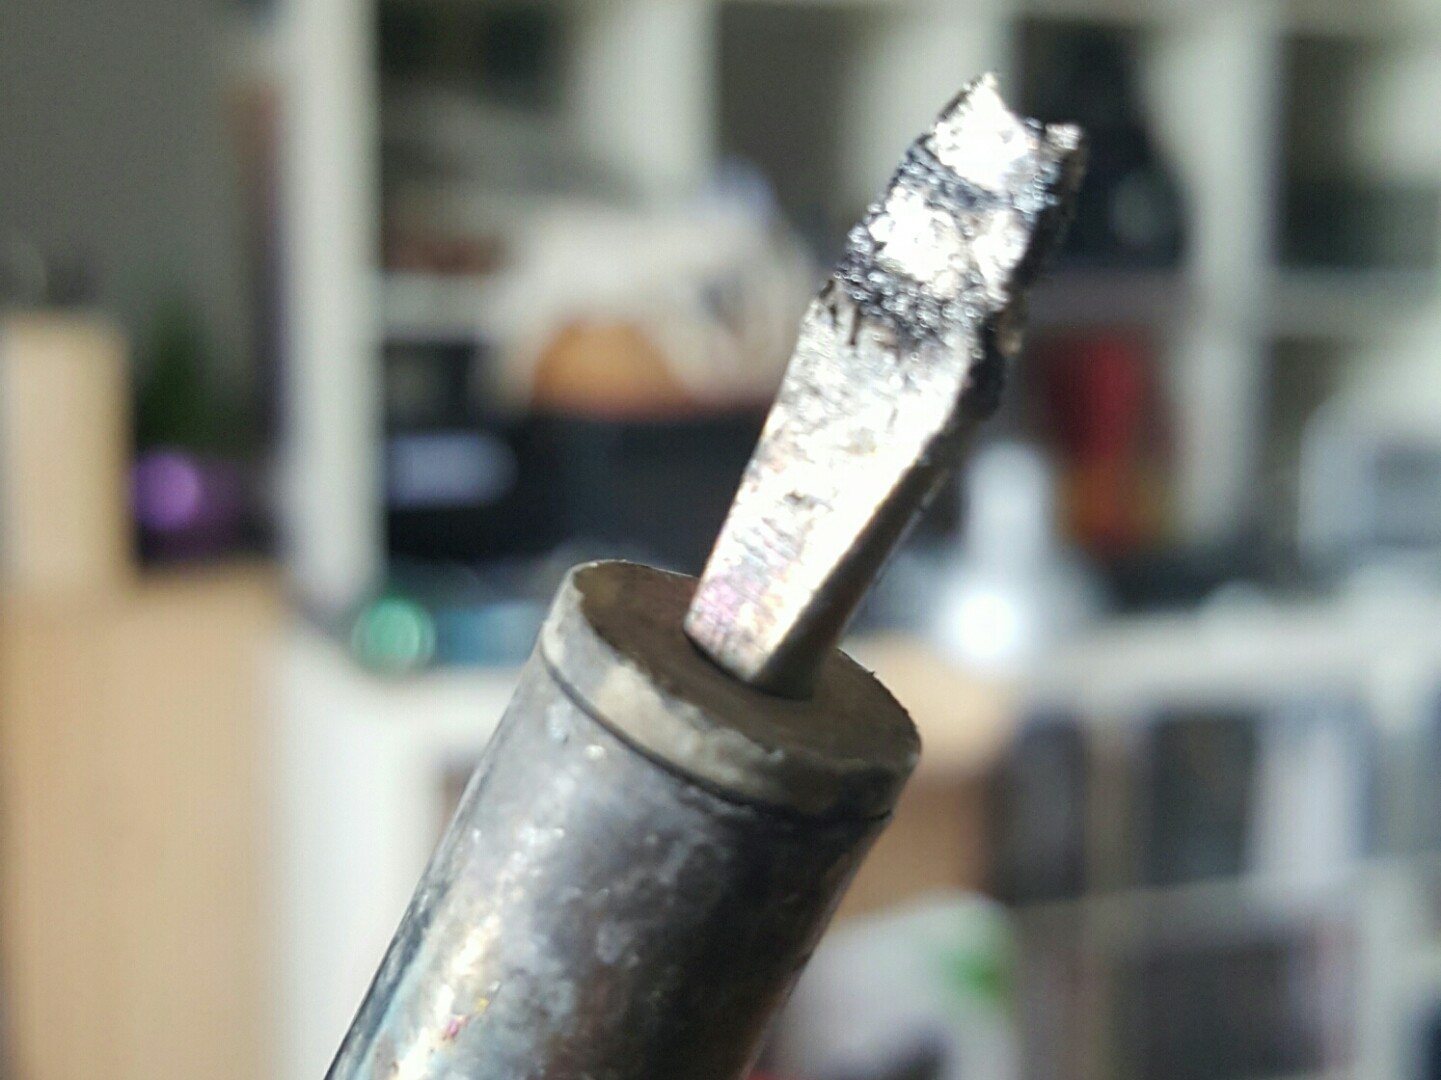
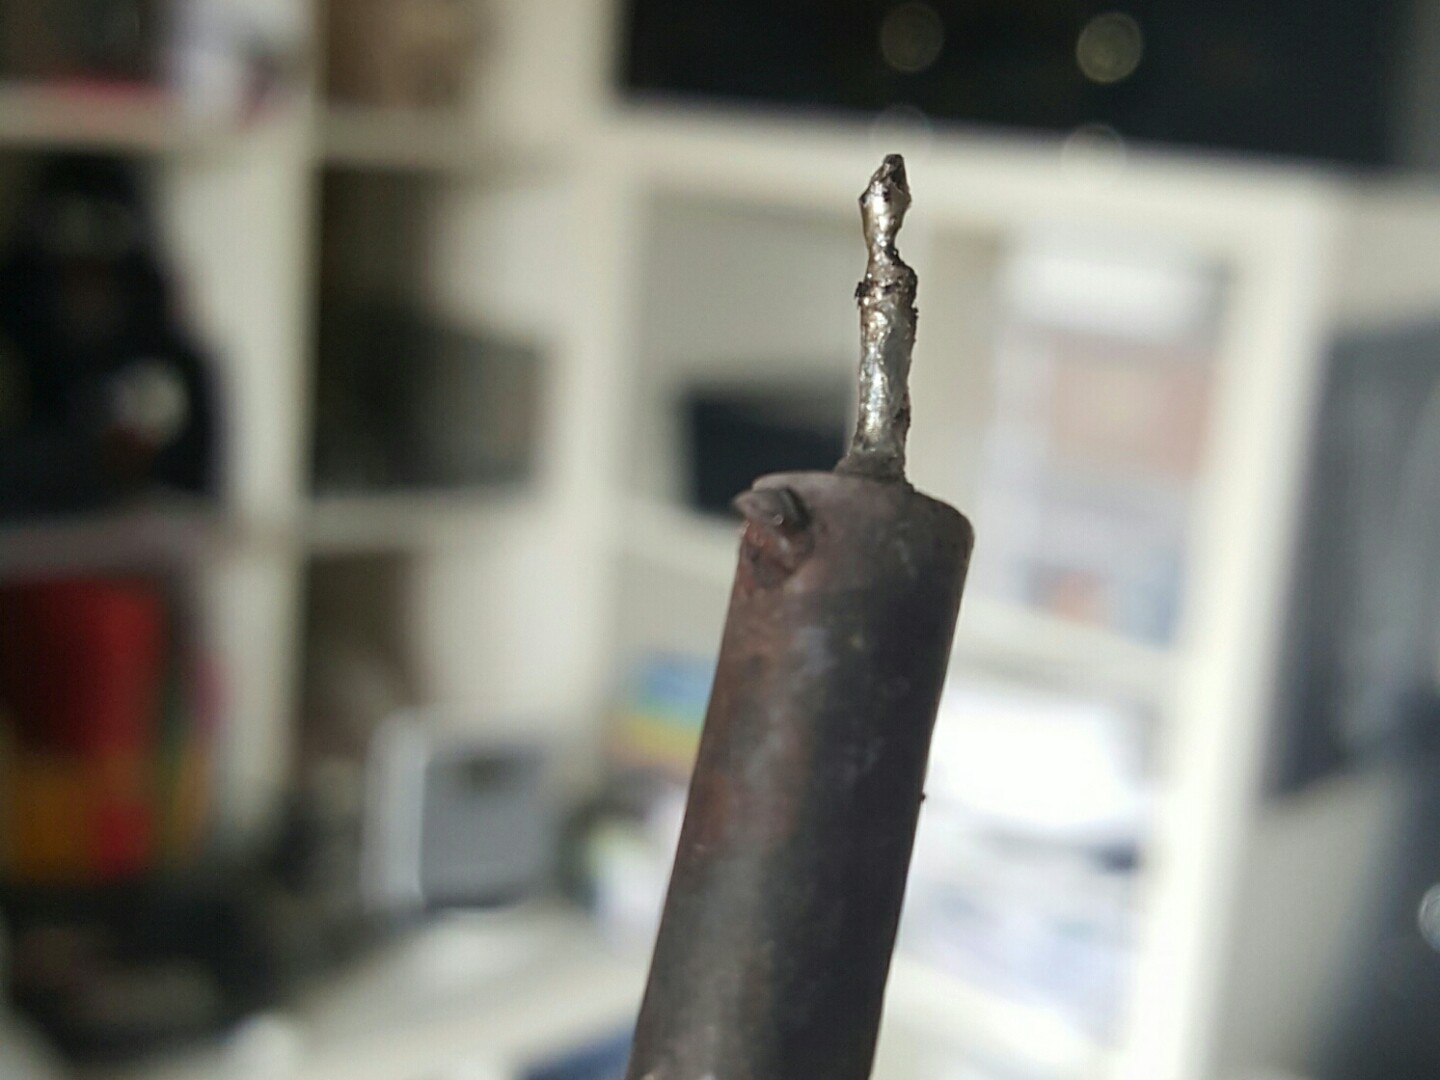
Before that I had a trusty Weller WM15L soldering iron with that I soldered all the SMD stuff and more, but especially with bigger thermal mass objects I ran into some problems. When I was noticing that the tip went from workable to bad and ugly, I tried to change the tip, but the heavily corroded screw just broke. I think I've paid 15-20 Euros for this soldering iron. In essence it also was a tiny screwdriver heated by mains, but a better one. It's also the same one that made me jump when I was soldering stuff in Marrakesh that might have been live. Scary throwback.
I was waiting to buy a hakko FX888 that was on sale on watterott for 130 Euros, but when the budget was there it was sold out - meh. So I ended up searching for hakko 936 clones instead and found one for 42 Euros. The important features for me were that the tip/iron were changeable and that I won't run out of spare parts, even though the hakko is not supported anymore, eBay is flooded with cheap stuff for it.
Hacking myself
2016-02-28 20:45:46
I have a bad motivator and some broken energy cells to fix. I see a lot of repeated hacks, that I have never done myself and yet I feel tired looking at all of them and everything related with soldering. Maybe this is because of my work that takes a lot of time and energy at the moment, or that my soldering station for 10bugs is worth nothing and it's just no fun to solder! I'm also short breathed more than I'm willing to admit.. meh.
Me building projects from hackaday.io | Bicycle Drummer by serdef
2016-02-27 21:16:54
One of my first projects that I've posted here is my most skulled and at the same time most neglected project - #Open Bicycle Computer - around the time when I posted it, I've checked for other interesting projects around that subject and found serdef's #Bicycle Drummer. It's essentially an arduino controlling a "Dreamblaster S1" board via TTL midi signals, where the speed of a loop is defined by your cycling speed. Sounds awesome - not just the idea but the actual baseline as well! The dreamblaster is build around the SAM2195 chip, which has 127 instruments and the first thing I did was playing a note with every instrument there is. I was disappointed by the steel-drum, but the rest was nice to listen to.
http://www.serdashop.com/waveblaster
What you can see here is a first result of a 'getting to know' session with the board. If you think the same way about my talking speed (too slow) then you might want to check the settings of the player, because you can speed it up to 1.5x and still get along easily :D I'm always tired when filming... meh. I'm sorry.
*DISCLAIMER: because I feel I have to say this, serdef send me this board and the arduino+expansion board kindly to play with it and come up with some projects. I'm happy to do so, because I always wanted to get into midi and this connects well with my music hobby and electronics hobby. It's also cool to switch from blinking to making noises sometimes :D
Johnny IV | dembrains plate
2016-02-21 21:28:58
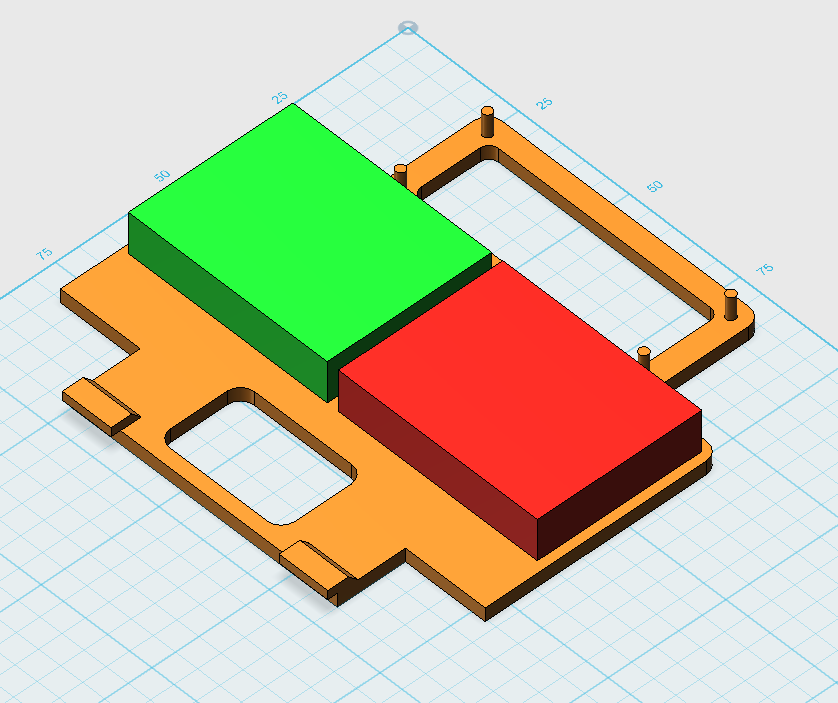
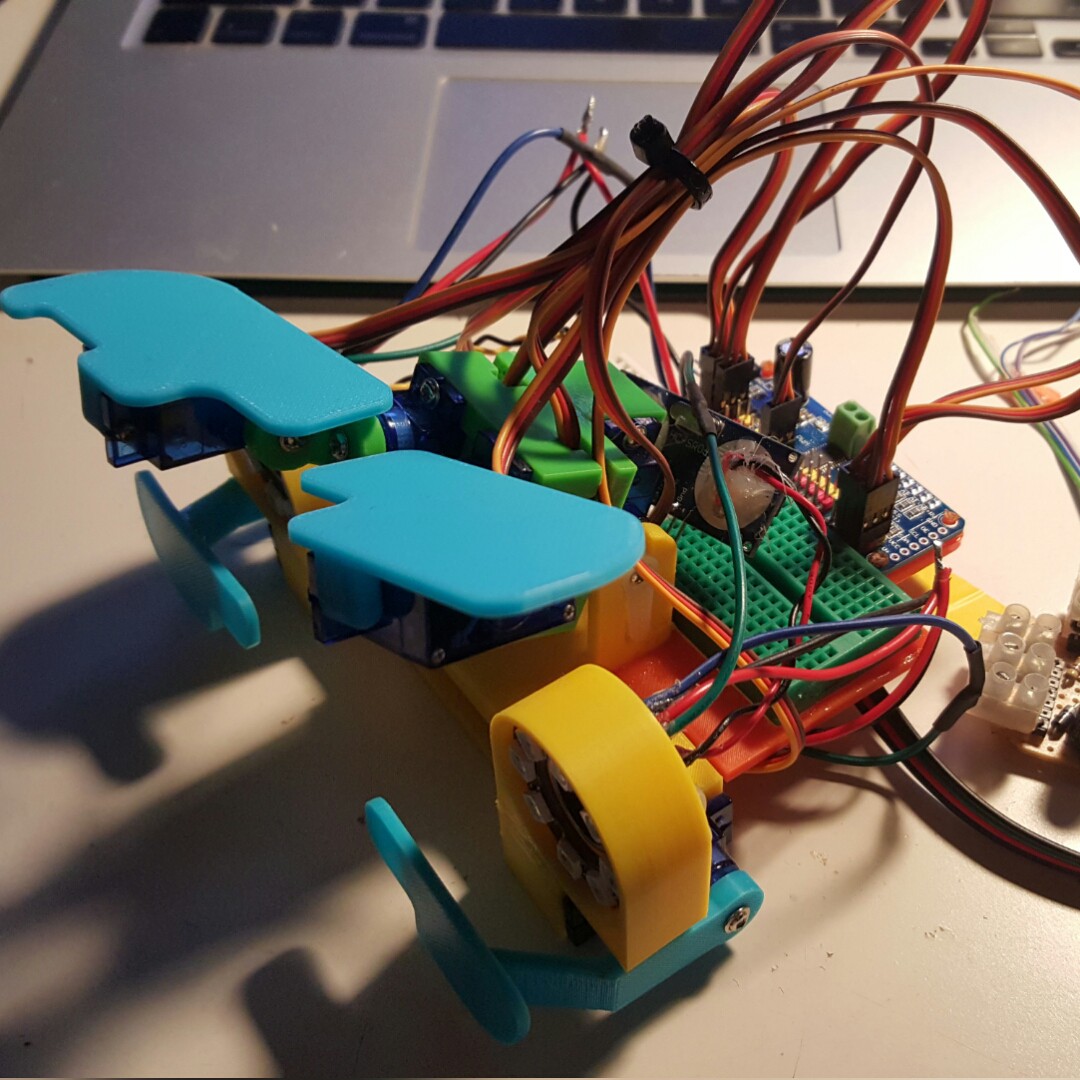
I'm still trying to get the wire mess controlled, to have an easy point to come back on a later point in time. On the backside there will be a PCA9685 16-CHannel 12-Bit PWM Driver board used for the servos and getting along with the ws2812b LEDs. I've heard about timer issues and just wanted to be safe. The red and green boxes are tiny breadboards for arduinos and servos.
I'll update this as soon as the print is done.
blinking things | props
2016-02-18 10:41:14
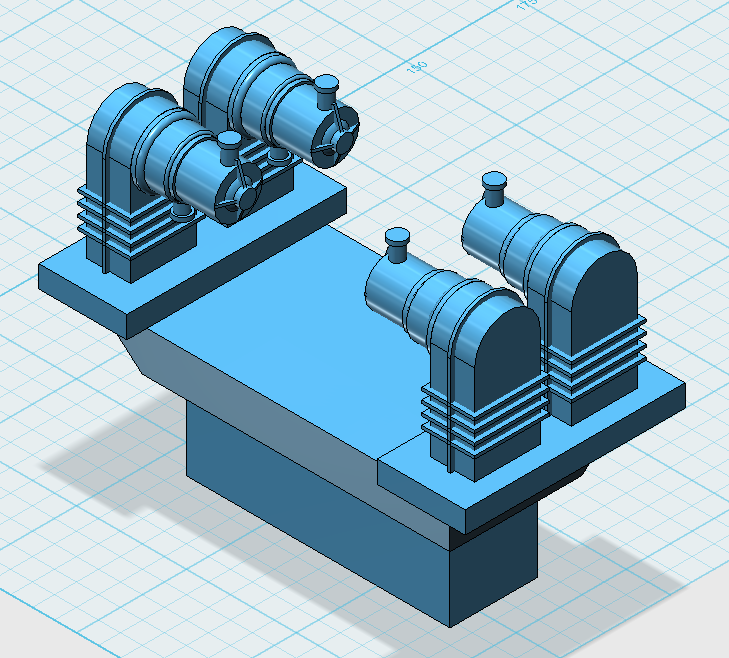
Although this is meant to be a board in general, I also have this 3D file that I could totally scale to fit some EL wire or 3mm LEDs. It doesn't seem to be too accurate though.
but initially this board was intended to be used on the blinking prop seen on 'Empire strikes back'. It's pretty easy to see the 555 with its caps, a 4017 to its right and the two ULN2004s with the 10 resistors for the 10 x 4 LEDs.
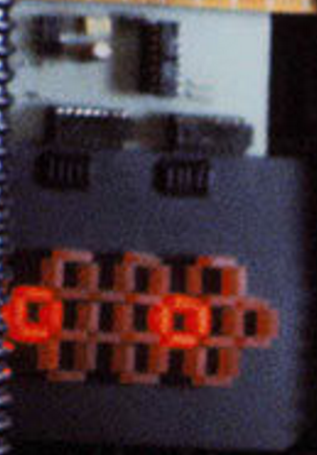
The 4 stages:
/*

 O # O
# # # #
 # O #

 # # #
# O # O
 # # #

 # O #
# # # #
 O # O

 # # #
O # O #
 # # #

 */
Fixietube - Fake Nixie Tube displays | Some thoughts for revisiting
2016-02-14 23:57:15
I still need those menu buttons and maybe an IR distance sensor to tell if someone stands infront of it. The lights are, although dimmed down, quite bright and I always have to pull the plug over night. Thankfully the RTC module is pretty accurate so far :)
The LEDs also point down, so it makes sense to have the clock high and far away on a shelf somewhere, sadly.
youtube stuff
2016-01-29 21:55:59
So I made a new youtube channel for my hacking / repairing / soldering / "german curse word tutorials" videos under https://www.youtube.com/davedarko . Thoughts and ideas are appreciated, I'm going to use this channel to showcase my projects in more detail and leave the other channel for private stuff like making music and vlogging and so on...
One of my recent favorite channels is https://www.youtube.com/user/rossmanngroup - a guy that posts videos from 20 to 120 minutes repairing mac mainboards - so entertaining! Favorite video so far:
Recycled LiPo Powerbank / PSU | new modules
2016-01-29 01:32:19
I was using some 1A charger boards and 500mA USB boost modules before, but with my buddies power bank I ran in some problems. First of all he has an iPhone. He plugged his brand new power bank in and nothing happened. So a bit of googling confirmed our suspicion that apple does something "weird" (meh, who would have known) or at least something of they're own when it comes to charging. Best place to start was this: https://learn.adafruit.com/minty-boost/icharging
So in addition to an LED mod I'll have to work out the resistor stuff. The power bank of my boss had a button that turned on the function for charging an iPhone. Maybe it is enough to shortly put 2V and 2.8V on the D+ and D- rails.
New charger board 0.49 EUR
TP4056 board with DW01 protection for LiPo cell (over and undercharge)
eBay search: (pcm, protection) (lipo, liion, li-ion, lithium) charger
New boost board 1.69 EUR
eBay search: 2A 5V USB boost
Skywalker Lightsaber | APA106 vs. WS2812B
2016-01-29 00:06:25
So it turns out that they are almost the same protocol... Red and Green are switched. But that is fixable :)
Skywalker Lightsaber | runs again!
2016-01-28 23:41:27
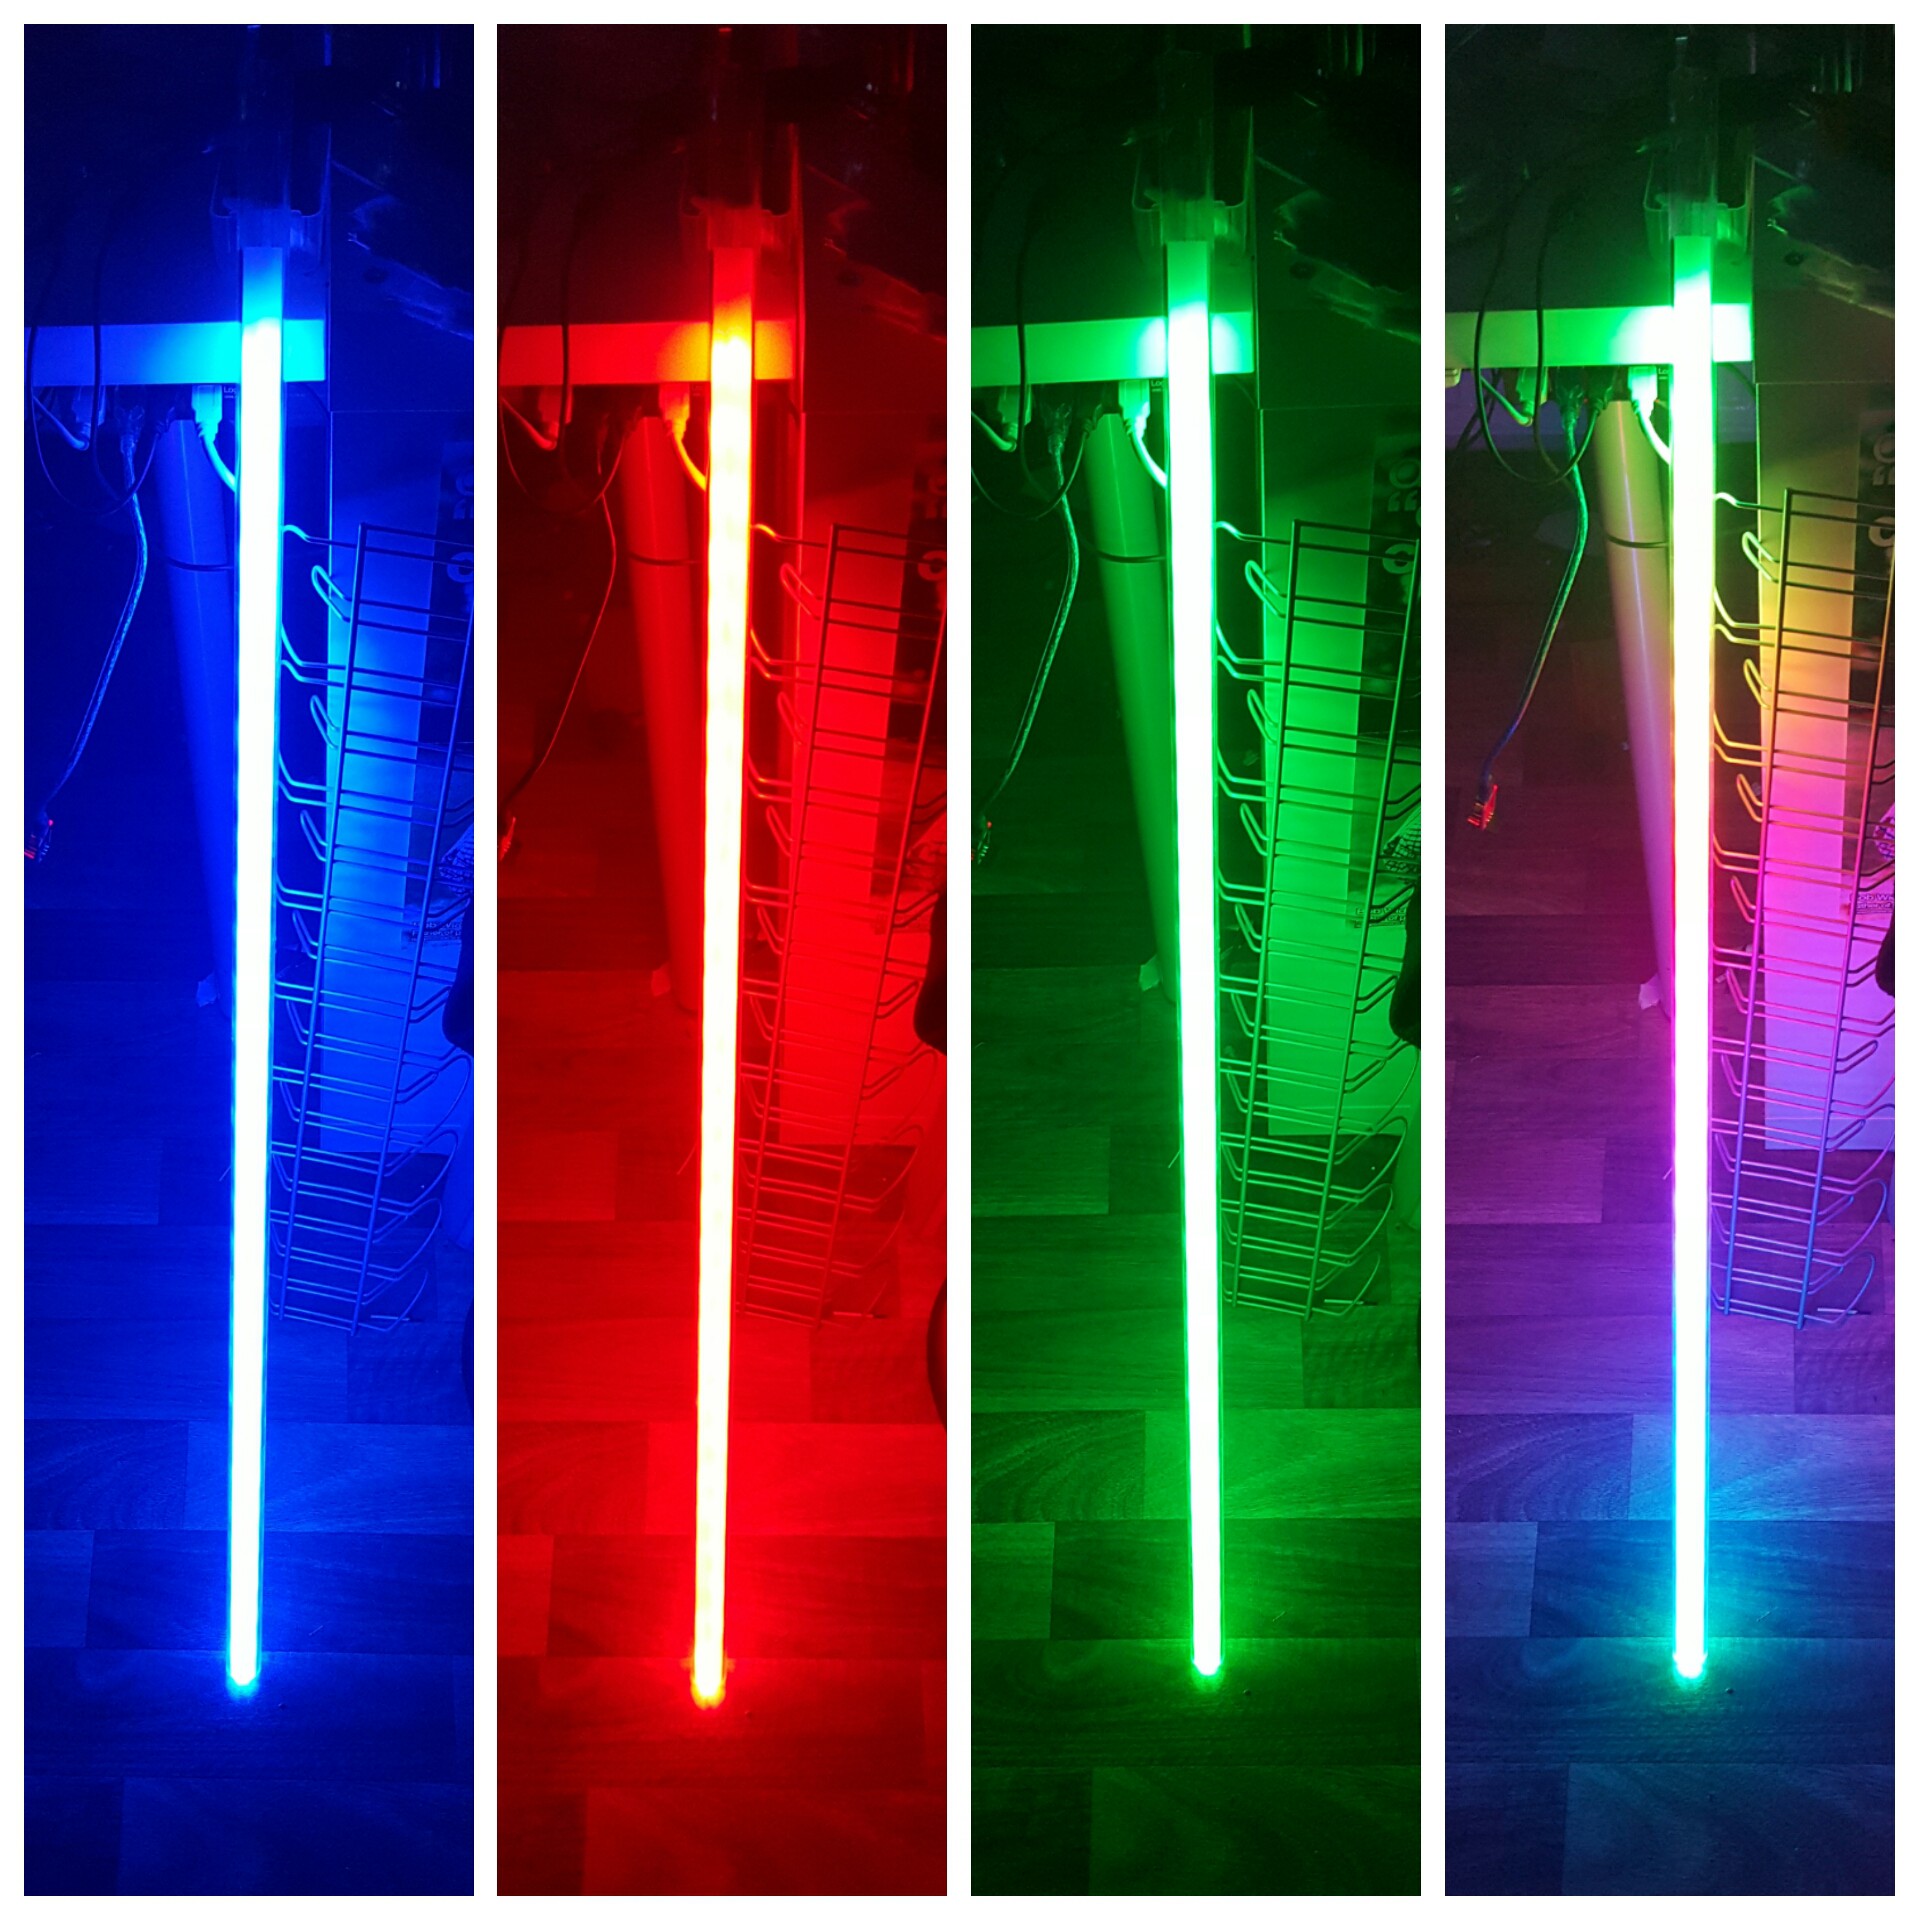
I haven't checked the MPU6050 yet, but until I do I have to choose a color. Maybe I'll go with purple. Or rainbow.
Heimdall - dumb remote home | 30 Days Without An Accident
2016-01-27 15:36:04
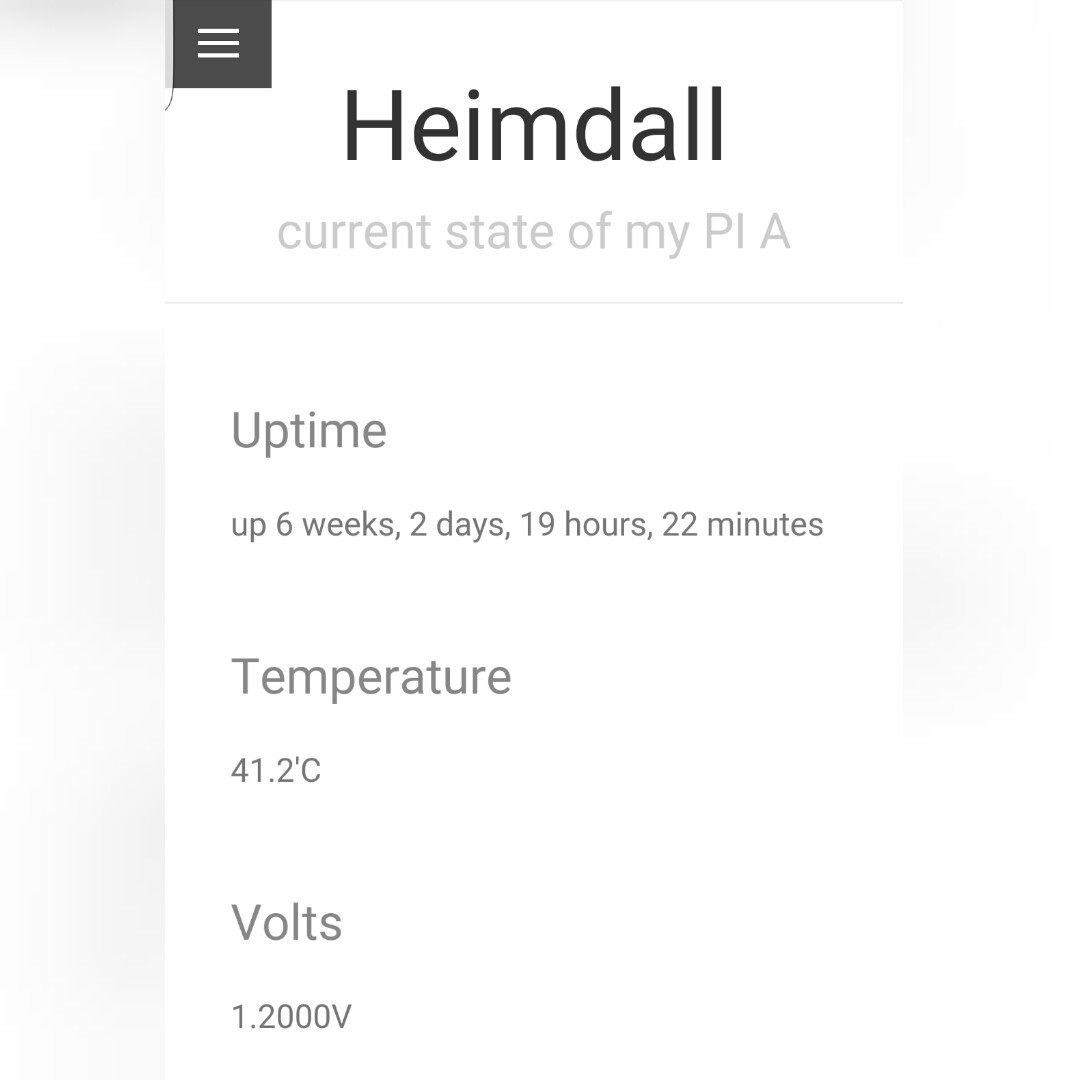
That's also a 'the walking dead' episode title :) I have another SD card for the PI Zero and I want to make the ESP12F or 12E work as a wifi board. Makes more sense to use the PI A (pia) as a home server that has nothing to do right now.
[Update] another stress test : "calling it 'stable' in public"
Me building projects from hackaday.io | MobileVise by SUF
2016-01-18 15:09:28
#MobileVise - by @SUF
Since I first saw the #Stickvise - low profile soldering vise by @Alex Rich I wanted to have one, but I'm cheap when it comes to pay for a decent tool. When @SUF posted his mobile 3D printed version, I thought I can print that! I found a M6 bolt and two nuts and I finally have something to holt my protoboards and arduinos ;)

Star Wars Greebles
2016-01-17 20:41:44
Look, what an awesome scene! But all I see is this fancy LED sequence thingy in the background and I want it!
So I'm going classic here, 555 timer and a 4017 with an ULN2003. The LEDs are definitely smaller, but it all fits on my protoboard.
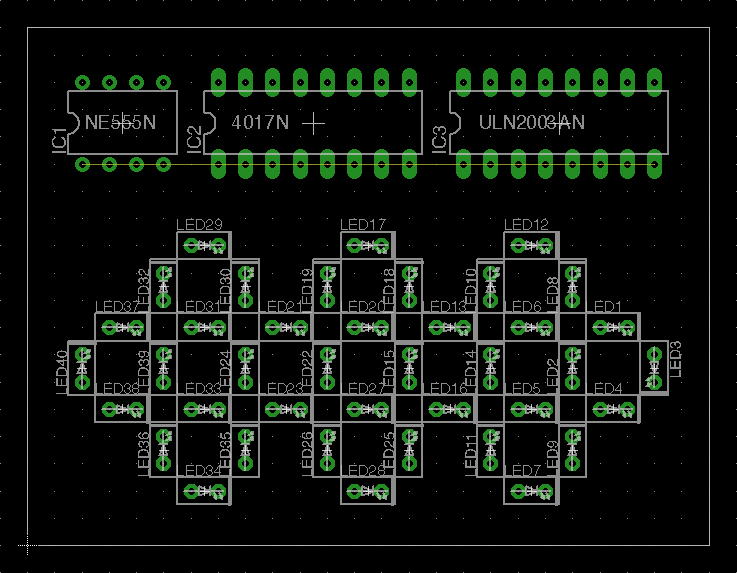
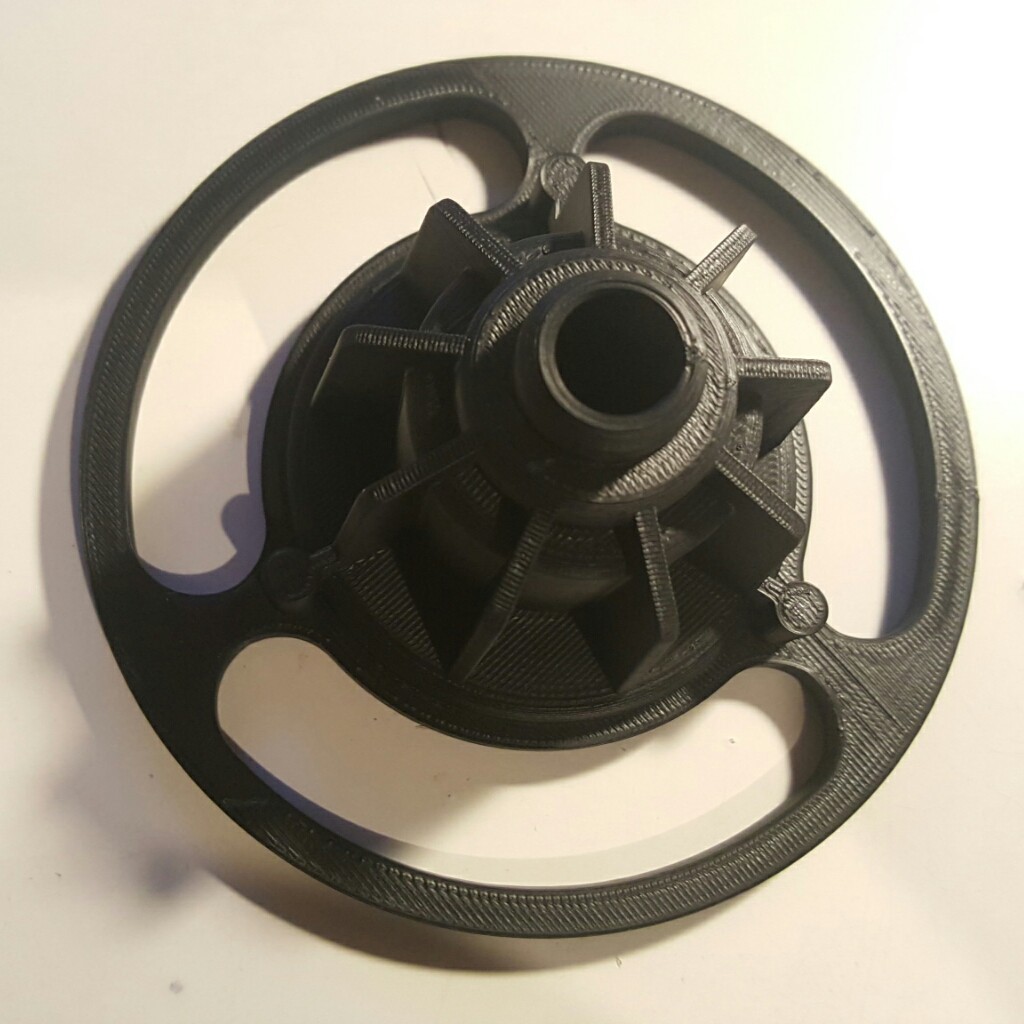
... it wouldn't be the first greeble from the millennium falcon that I tried to design.
http://www.thingiverse.com/thing:1262007
Skywalker Lightsaber | 12V again ...
2016-01-17 19:24:10
Skywalker Lightsaber | killed by 12V
2016-01-16 19:25:58
So I wanted to present my lightsaber and quickly plugged in the power supply but forgot to set the voltage first. Muahahah. Damn.