Heimdall - dumb remote home | researching soundcards for the cluster
2016-10-15 18:42:38
If I want to use the cluster with the alexa service then I need to find an I2S, SPI or I2C soundcard to get microphone input. I can't really use USB soundcards, since all 4 ports are taken by the 4 PI zeros and vice versa.
pi dac+ and hifiberry dac+ don't have any ADCs but in the datasheet of the used chip 5102A there was also the PCM1863 that might be able to help me out. not sure. Cheapest chip is 5-7euros on ebay.
Game Boy Cartridge plus Programmer | pew pew - 12min down to 5min
2016-10-14 14:29:17
LED displays on Arduinos - a collection | Arduino Pro Mini - 8x8 DIY matrix - Version 2
2016-10-14 11:44:30
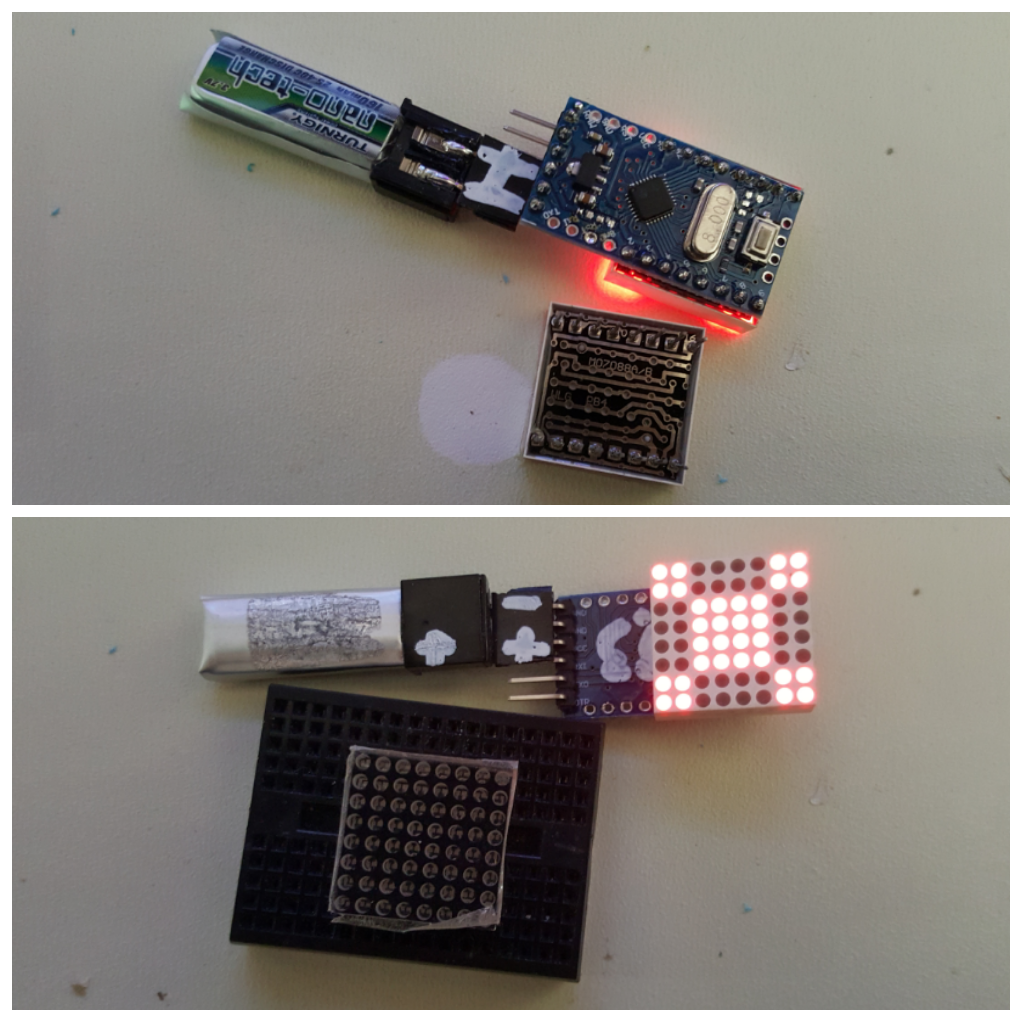
I used some sanding paper to diffuse the displays but stripped of the grey stuff as well. still looks nice though. It's possible to daisy them with I2C and put them next to each other to get an even bigger matrix. Works as a micro badge.
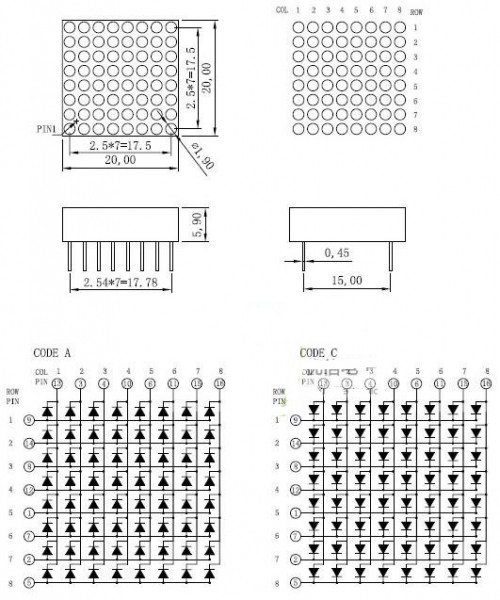
Here's the pinout of those tiny matrices. Had to google the name on the PCB to find stuff. Funky trap when checking the pinouts, it's not like an IC where the first row - first col LED is on the top left, it's on the bottom.
Here's some code to start:
// columns are anodes (positive) in my caseint col_pins[8] = {
// 13,3,4,10,6,11,15,165, A1, A0, 8, 12, 7, 3, 2
};
int row_pins[8] = {
// 9,14,8,12,1,7,2,59, 4, 10, 6, A3, 11, A2, 13
};
byte img[8] =
{
B11000011,
B11000011,
B00111100,
B00111100,
B00111100,
B00111100,
B11000011,
B11000011
};
voidsetup(){
// put your setup code here, to run once:for (int i=0; i<8; i++)
{
pinMode(col_pins[i], OUTPUT);
pinMode(row_pins[i], OUTPUT);
}
for (int i=0; i<8; i++)
{
digitalWrite(col_pins[i], HIGH);
digitalWrite(row_pins[i], LOW);
}
}
voidloop(){
for (int j=0; j<8; j++)
{
digitalWrite(col_pins[j], LOW);
int i = 0;
for (byte mask = B00000001; mask>0; mask <<= 1)
{
if (img[j] & mask)
{
digitalWrite(row_pins[i], HIGH);
delayMicroseconds(15);
digitalWrite(row_pins[i], LOW);
delayMicroseconds(5);
}
else
{
digitalWrite(row_pins[i], LOW);
delayMicroseconds(20);
}
i++;
}
digitalWrite(col_pins[j], HIGH);
}
}
world clock thing | All boards soldered
2016-10-13 21:23:20
Next up arduino and ic2 stuff. Muahaha.
[UPDATE]
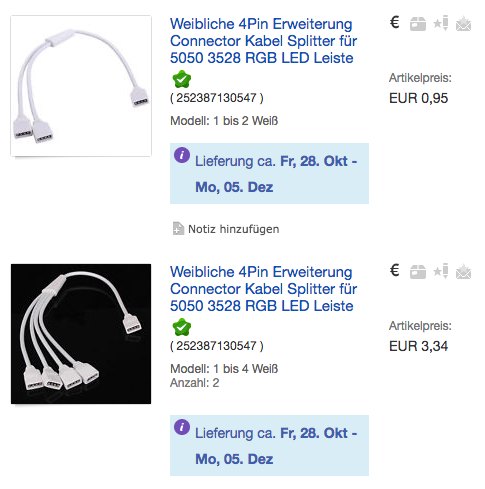
Nopes, I'm just tooo lazy to solder a cable with pinheaders today, so I ordered these.
DC motor board with attiny13 | boards are in the making
2016-10-13 17:22:35
I'm currently waiting for 6 board layouts to get back to me :D it's a little bit bigger than the 'original'.
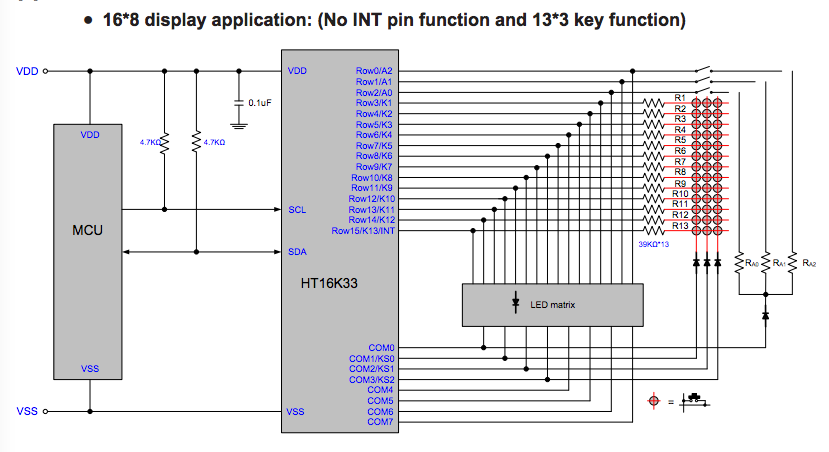
blinking things | HT16K33 to help with my ancient ancient displays
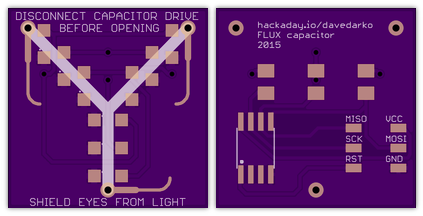
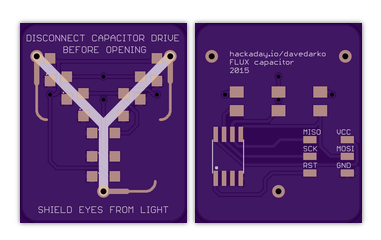
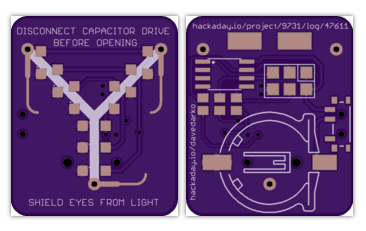
Please. I know. It's flux capacitor. But that might happen to every german-syncronized-movie-watching person. Maybe it's because of the drawing that says "flux compression". I still want to know what happened there.
Parts are all 1206 and super easy to solder.
Version 1
Version 1 - Rev 1
Version 1 - Rev 2 - final
I've updated the design to also have a battery holder and a switch (yay), also soldering points for a clip. Checkout #FLUX capacitor trinket for future updates :) ALSO: there's a four led, more resistors version by @Bastiaan - #Mini flux capacitor prop PCB
int outer = 0;
int center = 1;
int inner = 2;
int pwmValue = 22;
int timeLength = 250;
int delayValue = 10;
voidsetup(){
// put your setup code here, to run once:
pinMode(outer, OUTPUT);
pinMode(center, OUTPUT);
pinMode(inner, OUTPUT);
}
voidloop(){
// put your main code here, to run repeatedly:
softPWM (outer);
softPWM (center);
softPWM (inner);
delay(timeLength);
}
voidsoftPWM(int pin){
for (int j=0; j<timeLength/delayValue; j++)
{
for (int i=0; i<pwmValue; i++)
{
digitalWrite(pin, HIGH);
delayMicroseconds(delayValue);
}
for (int i=pwmValue; i<=255; i++)
{
digitalWrite(pin, LOW);
delayMicroseconds(delayValue);
}
}
}
LED displays on Arduinos - a collection | Arduino Pro Mini - 8x8 DIY matrix
2016-10-04 17:07:44
[Update] hand soldered board
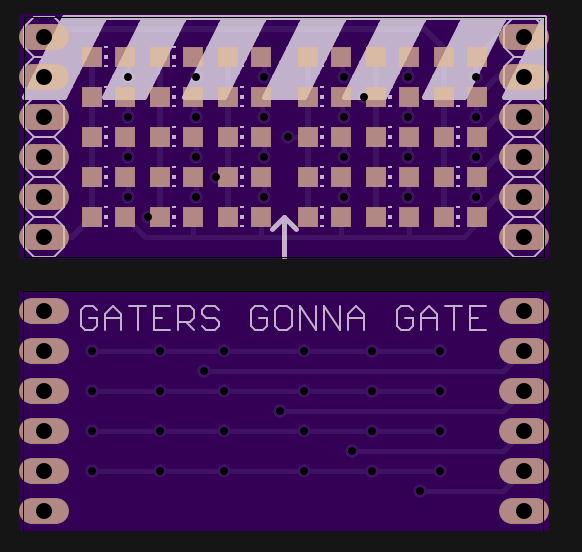
This one is almost as big as the small 20mm x 20mm, inspired by @al1 's visit at my place, showing of his colourful and tiny RGB displays. I plan on putting this on arduinos and just run and hope for the best with blue or white LEDs.
don't be cheap, use fresh solder paste :D first heatgun station (858D) clone test.
I needed something to calm down my nerves - the annoying colleague was annoying - so I hand soldered the board with the today arrived UV LEDs. I wanted purple leds on a purple board...
LED displays on Arduinos - a collection | arduino pro mini shield for 2 5x7 LED displays
2016-10-03 10:37:54
I have those 0.7" knockoffs for the longest time now and never made something with them. The cheapest mcu board I could think of (as always) was an arduino pro mini and I have an idea how I could connect them a bit differently so that I might be able to make it a watch.
Maker Faire Berlin 2016
2016-10-01 19:01:55
It's that time of the year again, the world maker faire is on in New York and Berlin is like "yeah, we can do this, too!" - what a lovely attitude.
Greeted by an angel of LEDs we walked into the halls of http://www.station-berlin.de/de/ - much bigger than the last years location called "Postbahnhof". Nice cosplay!
Michael makes laser-cut wood models from Leonardos designs! His newest, not yet released model is the maestros tank and I asked if they were any pitfalls implanted and they sure were, one of those wheels was on another position in the designs.
This guy has some projects in his corner! - converters, VU-meters, Joule thiefs, induction hexacopters, lots of blinky stuff. Especially his acrylic encasings that he all hand-coloured with a text-marker to make them all match a red and blue pattern. Definitely entertaining.
Sadly I can't find it anywhere so I can't tell you who made it or how it works, but I think it's a 5 servo per plant setup controlled via DMA to pwm converters.
Pimoroni
They had a big stand where they sold their stuff. No shipping fees and they had PI zeros - you just had to ask!!! (one per customer - as usual). Anyone ideas what a pi zero cluster could actually work on? Well if not, then maybe the next stop would spark some interest!
Raspberry Jam Berlin
This dalekian sweety built by James Mitchell is a two times [RPi3 | 4 RPiZ] - cluster taking 360 degrees stitched pictures. It's not the only project of the RJB though, since this is a quarter-yearly meeting of RPi aficionados who talk about what the platform is capeable of. They have links to flickr, instagram and all the other social stuff on their site.
wandering around the tables I noticed a necklace with an RGB LED pendant and a big box wired to it. When Liana Lessa then showed me it was an Arduino / GPS / BTLE / compass / math Project, I was happy that I walked up to talk. It's intended for long distance relationship couples to know when they are facing each other, but could also be used for places of interests like religious places, Tosche-station or favourite foodcourts {insert: forever alone meme}.
THey were selling some kits and blinky things, but me and @al1 where all in for the flipdots! As always - expect stuff from us ;) Sadly they don't hand out datasheets or footprints, so we have to start there. Maybe if you ask nice you'll get them.
Presentation : "Pirate Parables of PCB Product Production"
They gave a short talk about how they would design and prototype boards and how they started their own community and learning sections around not only their designs. Good guys! I also tried to convince them of an addendum to their title: "Pimoroni presents: Pirate Parables of PCB Product Production".
- Paul Beech, Phil Howard and Sandy Macdonald
Presentation : "Best practices zur Veröffentlichung von Open-Scource-Elektronikprojekten"
Publishing projects is something the one or other hacker could work on to improve, so Felix gave a talk about what is usually needed to get going and how frustrating it can be if you want to start a project you like, but the doc is just not there. He also made this 'github' grabber for hardware projects and it's great! It rates and categorises projects based on documentation and gives you inspiration by search, this is a nice tool to extract all the goodness from github. Aisler also has some affordable PCB service made in Germany, it's a mix of all you've heard so far - basically 3 boards of 1 design, but price is 80ct/cm2 per board, min dimensions are 10x20mm - so basically a german based OSHpark that's 3 times the price.
- Felix Plitzko
aisler.net - GitHub open hardware projects database
There where a lot of soldering workshops out in the open, not just hidden in a room somewhere. All in all it was a really haptic and "hey try this out" experience, much more than last time. I didn't catch the guys name or contacts and his stand is called "atrwork" - basically blinky stuff in epoxy.
NOGS - a multi-hardware-platform IoT-software platform built by André Riesberg (riesberg-net.de) - NOLINK
I got this 8GB USB stick when I asked beta-layout.com for a flyer on their frontplate CNC services
xbox chatpad
2016-09-27 21:28:41
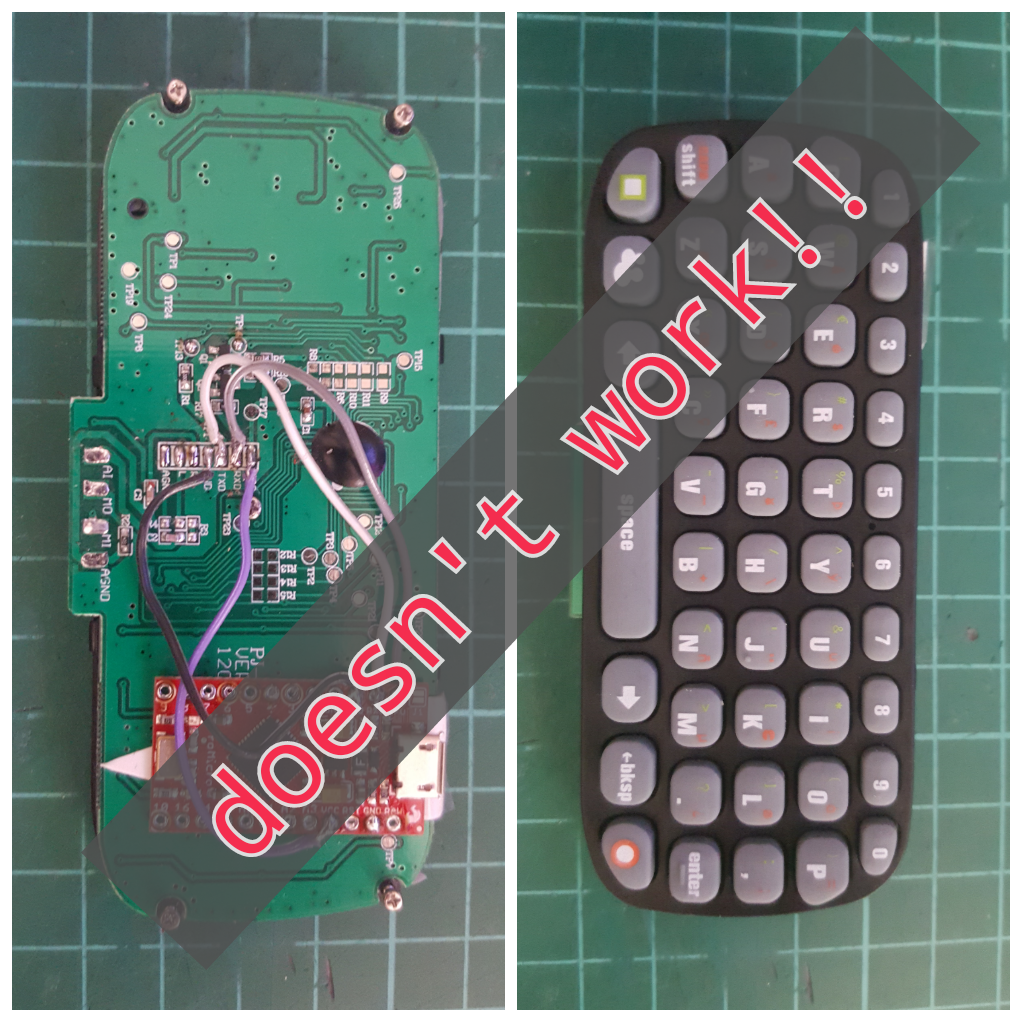
This is my write up of how I made the cheap Chinese knockoff xbox chatpad to work for me.
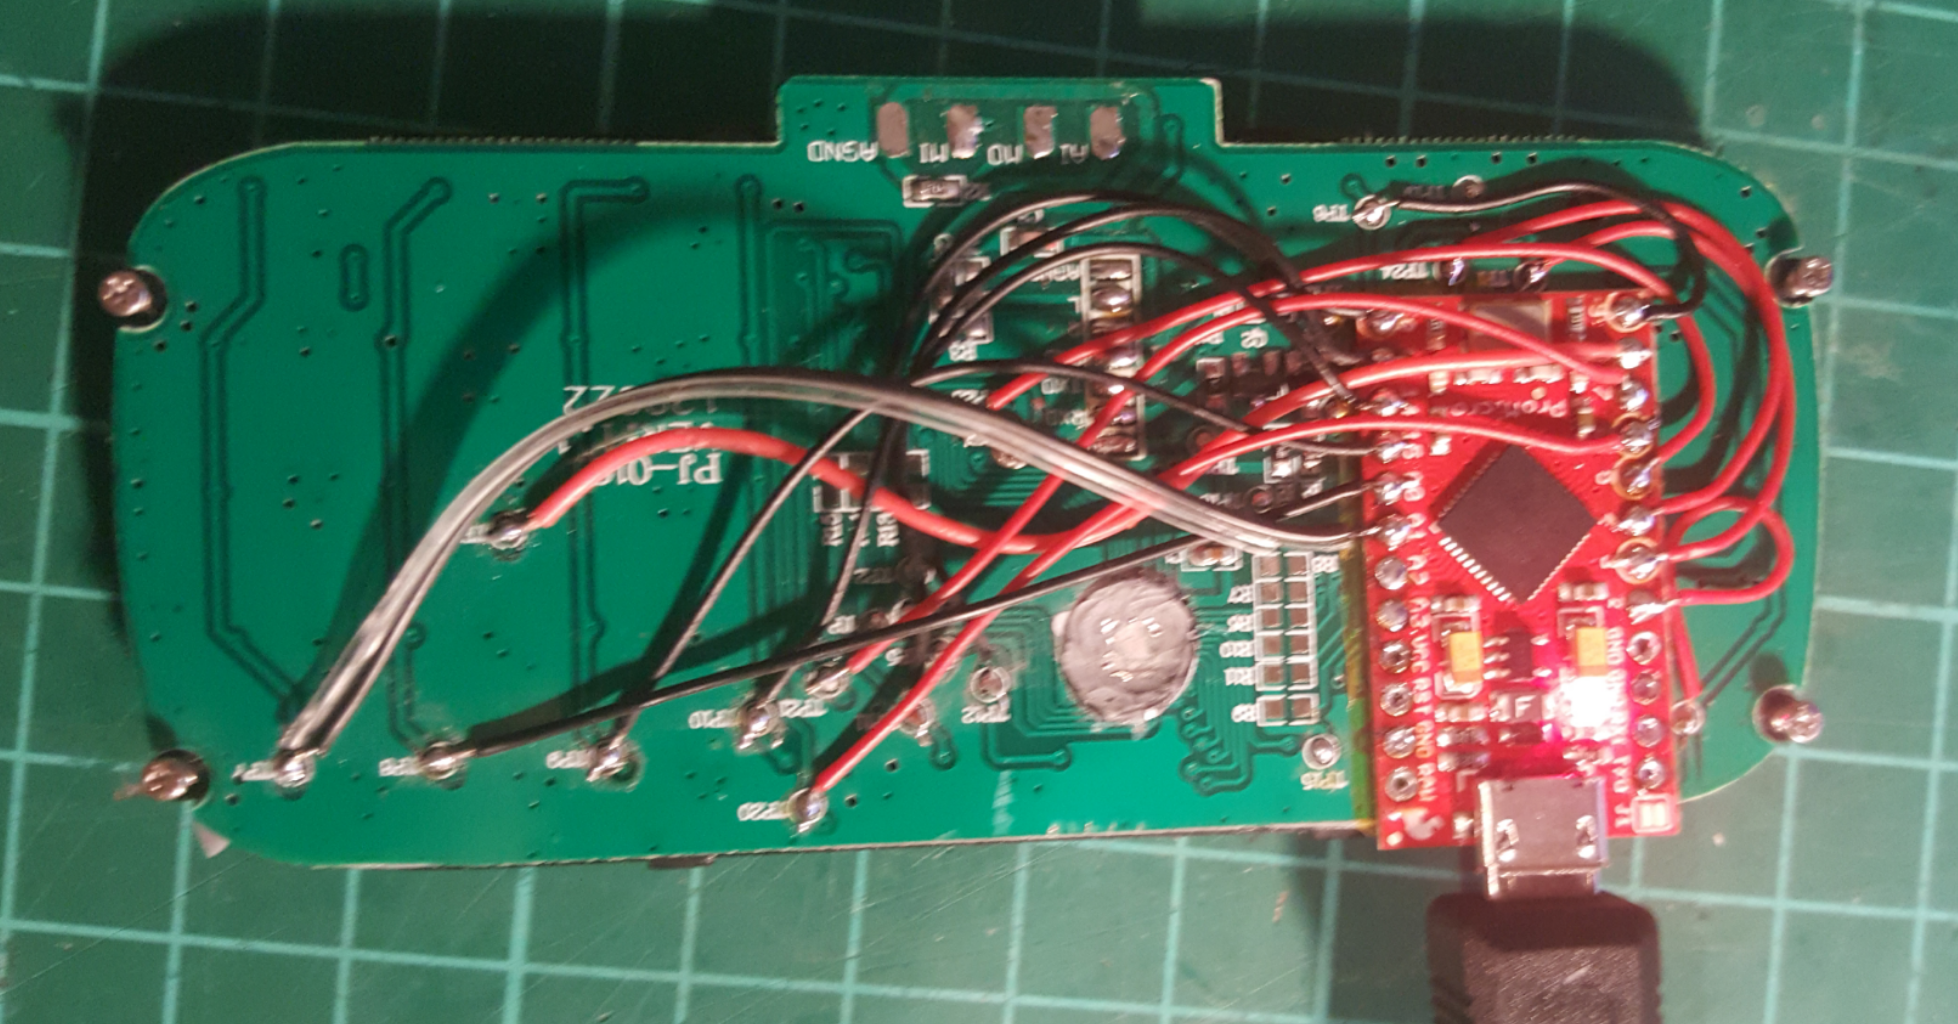
After watching one of Ben Hecks classics - "Build a Retro Computer: BASIC 80's Pocket Computer"[link] I bought the cheapest on eBay I was able to find (as always), but quickly found out that they aren't the same and as easily reprogrammable. A bit frustrated I left this in a drawer for a while, until recently, where I was looking for a good portable keyboard for my #Portable Raspberry PI Zero project. So my solution was to add an Arduino Pro Micro with an Atmega32u4 on it, that has native USB and is also to find on a Teensy 2.0. I had to remove the IC blob on the Keyboard PCB first, to make sure it wouldn't be powered by the row scanning and crosstalk, then hooked up the Arduino to the test points. I also worked out some modifiers but got lazy with the green ones.
"Does anyone know of 6x6mm2 buttons that aren't a pain to push?" - Me
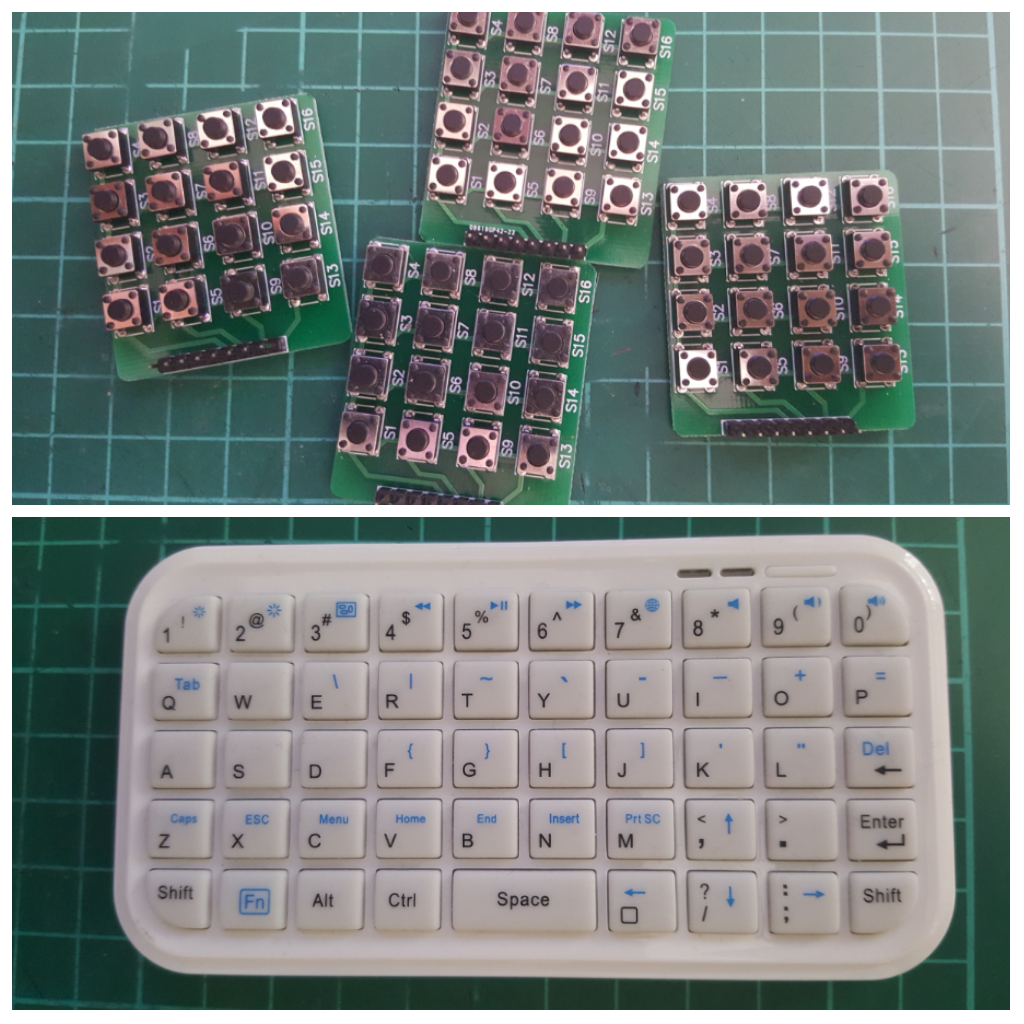
I'm currently 'researching' keyboard options for a portable raspberry pi device. So far I have an old cheap chinese bluetooth keyboard, some 4x4 keypads and an xbox controller and I'm not happy. Without screw holes -that were on the eBay listing pics- I can't mount those 4x4 boards anywhere and I don't like the pressure I have to apply to the switches. The BT board I might be able to hack in to, but after failing with the chatpad I feel slightly "meh" about it.
After a fatal waste of hours I gave up debugging a cheap Chinese xbox chatpad. It doesn't want to talk to me and it's not the PIC chip version one could reprogram, so my only option right now would be to remove the chip and throw on an atmega/arduino on there and scan it myself. Since they're cheap to get on eBay I still might do that at some point, but I came up with something else. Thanks to the very good google picture search result position that hackaday.io always gets, I felt compelled to add this massive text overlay. But I have to linkdrop this for all the guys who bought original quality M$ stuff - http://cliffle.com/project/chatpad/ - it might work for you guys.
[UPDATE] mapped out TPs and Letters and stuff and wrote arduino sketch for pro micro
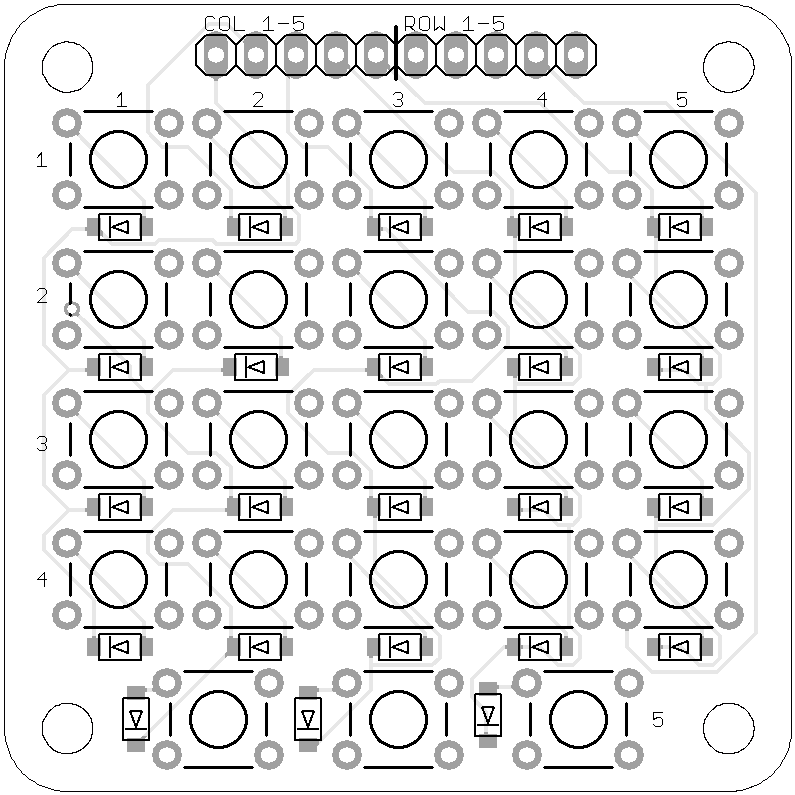
Instead I designed a little board that's inspired by the nokia 5510 - this cellphone has a "full" qwerty keyboard, 24 buttons on the left and 21 buttons on the right side of the display. So having two boards of this 4x5+3 keys equipped with the (way too heavy) buttons that I want to replace might be a good start. It also has diodes against ghosting - should have added a ghostbusters logo on there. Damn. Next rev.
I don't like indents in my finger from pushing a button - so does anyone have any other options? I'm running out of Ben Heck portables episodes.
world clock thing | mini rant
2016-09-26 10:46:07
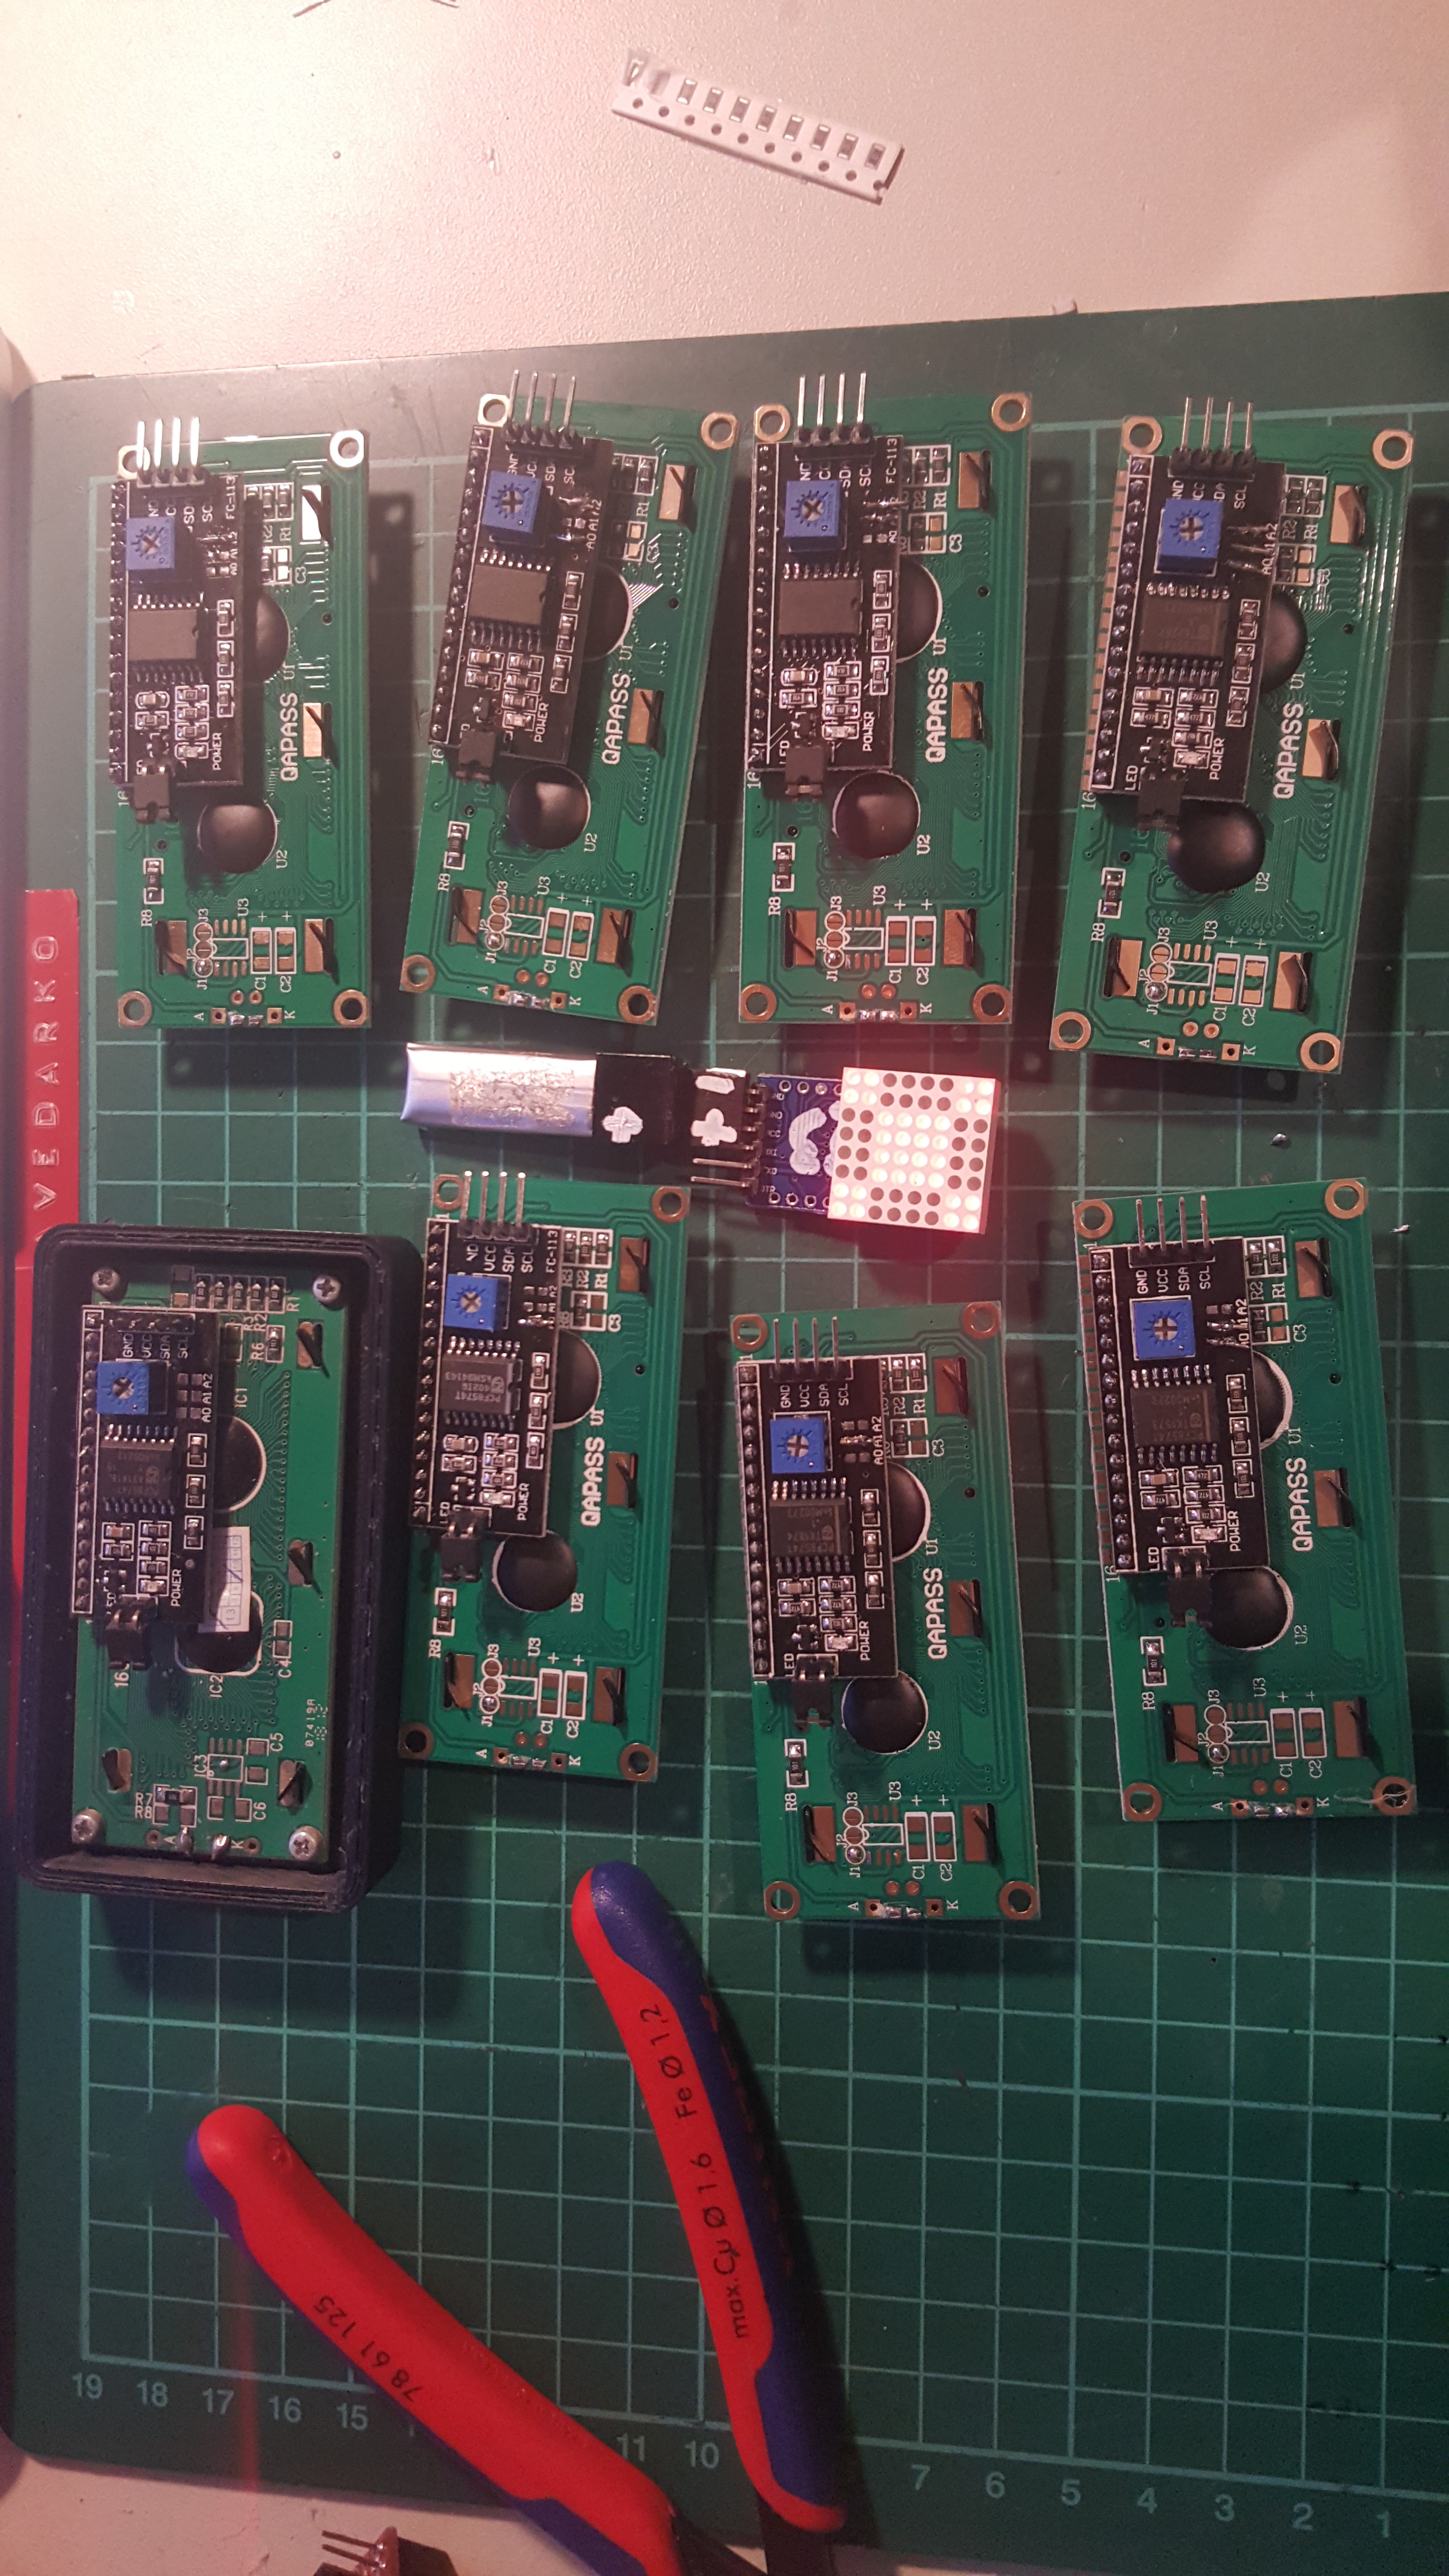
I really don't like the look of those 1602 LCDs.
They are ugly. So ugly.
Heavy and Bulky.
32 characters, not much at all.
5 displays for 1 tweet, even though I don't use twitter - this sucks.
The coolest I've seen done with it where special character animations and the eyes of Chappy.
Fixietube - Fake Nixie Tube displays | mqtt and ArduinoOTA is running - muahaha
2016-09-25 21:02:33
right now it listens to "setTimer" and I can update the software over the air - nice!
Also the case is quite nice - I even designed a back piece this time :D only thing missing is the 'fence' between the glass and LEDs.
so I had two spare sets of jam jars, boards and LEDs left and started this beauty. Using one of my #Ignore this ESP8266 board for controlling stuff.
world clock thing | I'm going for eight displays now
2016-09-24 18:13:30
There are 3 external address bits on the I2C controller boards and the displays are cheap, so why not have at least eight displays, instead of 5 or 24.