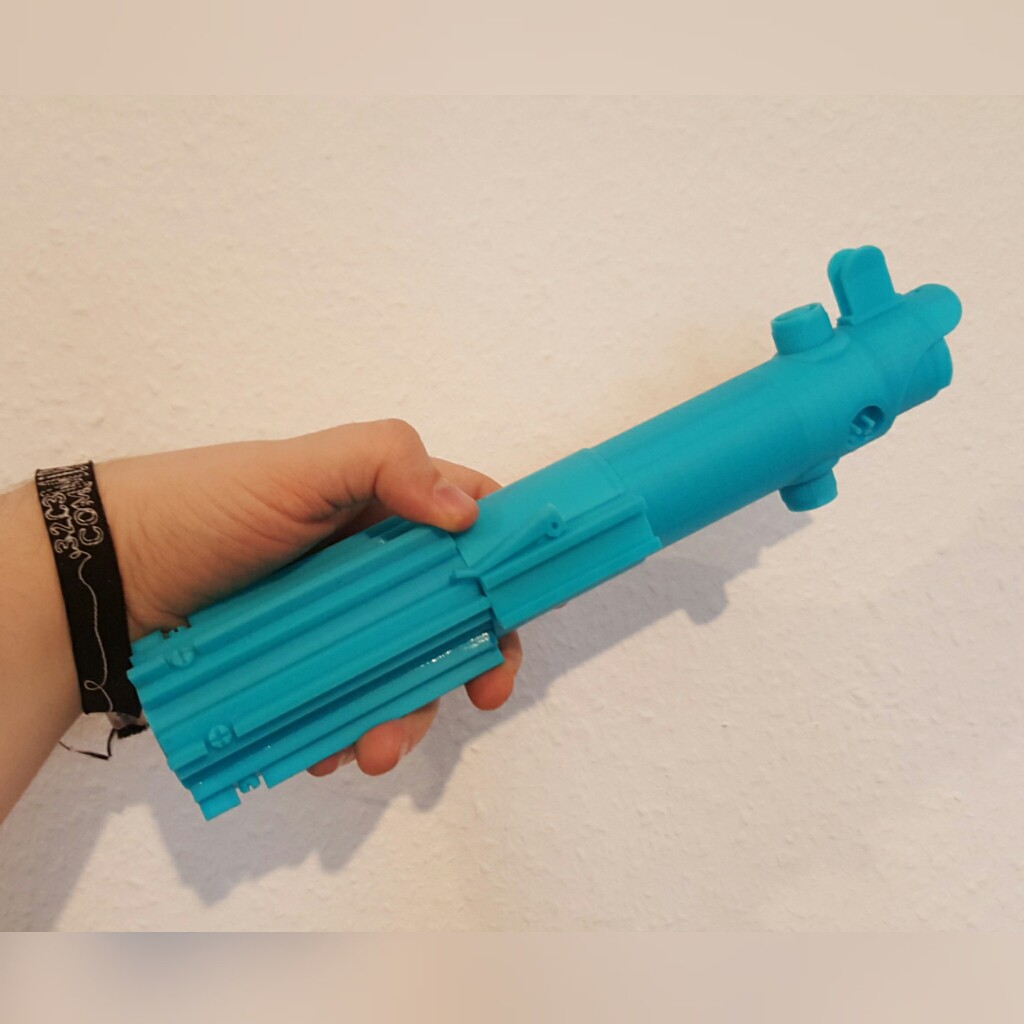
Skywalker Lightsaber | Adafruit Trinket M0 - controlling the onboard dotstar LED via Arduino IDE
2018-01-04 11:08:16
Since I couldn't find how to control it, here's my code how I did it. They probably focus on their python stuff more than on the Arduino IDE, which makes sense and all in all the Trinket still works with the Arduino IDE, so hurray :) You need to install the Adafruit_DotStar library, best done with the library installer. I had to change the datapin and clockpin, easy to find on the pinout site (https://learn.adafruit.com/adafruit-trinket-m0-circuitpython-arduino/pinouts. The other change I had to make was the configuration definition to BGR, RGB backwards. Now that I was able to do that, I found this https://forums.adafruit.com/viewtopic.php?f=25&t=124501&sid=21195cd2275abc7ba8a32912d47cff6f :D
#include <Adafruit_DotStar.h>
#include <SPI.h>
#define NUMPIXELS 1
#define DATAPIN 7
#define CLOCKPIN 8
Adafruit_DotStar strip = Adafruit_DotStar(
NUMPIXELS, DATAPIN, CLOCKPIN, DOTSTAR_BGR);
void setup() {
strip.begin();
strip.show();
}
void loop() {
strip.setPixelColor(0, 0xFF0000);
strip.show();
delay(1000);
strip.setPixelColor(0, 0x00FF00);
strip.show();
delay(1000);
strip.setPixelColor(0, 0x0000FF);
strip.show();
delay(1000);
}Skywalker Lightsaber | Adafruit Trinket M0 - controlling the onboard dotstar LED via Arduino IDE
2018-01-04 11:08:16
Since I couldn't find how to control it, here's my code how I did it. They probably focus on their python stuff more than on the Arduino IDE, which makes sense and all in all the Trinket still works with the Arduino IDE, so hurray :) You need to install the Adafruit_DotStar library, best done with the library installer. I had to change the datapin and clockpin, easy to find on the pinout site (https://learn.adafruit.com/adafruit-trinket-m0-circuitpython-arduino/pinouts. The other change I had to make was the configuration definition to BGR, RGB backwards. Now that I was able to do that, I found this https://forums.adafruit.com/viewtopic.php?f=25&t=124501&sid=21195cd2275abc7ba8a32912d47cff6f :D
#include <Adafruit_DotStar.h>
#include <SPI.h>
#define NUMPIXELS 1
#define DATAPIN 7
#define CLOCKPIN 8
Adafruit_DotStar strip = Adafruit_DotStar(
NUMPIXELS, DATAPIN, CLOCKPIN, DOTSTAR_BGR);
void setup() {
strip.begin();
strip.show();
}
void loop() {
strip.setPixelColor(0, 0xFF0000);
strip.show();
delay(1000);
strip.setPixelColor(0, 0x00FF00);
strip.show();
delay(1000);
strip.setPixelColor(0, 0x0000FF);
strip.show();
delay(1000);
}